


Coffee vending machine installation requires matching the unit's electrical, water, and drainage specifications to the location before delivery, since retrofitting a site after a machine arrives causes the majority of preventable setup delays. This guide covers the exact power, plumbing, and space requirements, the step-by-step installation sequence, and the pre-install checklist operators use to get a machine dispensing correctly on day one.
Table of Contents
- Pre-Installation Site Planning
- Electrical and Power Requirements
- Water Supply and Drainage Requirements
- Space and Clearance Requirements
- Step-by-Step Installation Process
- Plumbed vs Non-Plumbed Machines
- Permits and Compliance Considerations
- Installation Requirements at a Glance
- Post-Installation Testing and Calibration
- Frequently Asked Questions
Pre-Installation Site Planning
Pre-installation site planning determines whether a coffee vending machine operates correctly from day one, because power, water, and space mismatches discovered after delivery cause installation delays that can run into days rather than hours. A site survey should confirm outlet type and amperage, water line proximity, drainage access, and floor load capacity before the machine ships.
This planning stage connects directly to the broader decision of where and how a machine fits into a coffee vending route, since installation feasibility at a given location affects whether that stop is worth servicing at all. Operators evaluating new locations should also reference current coffee vending machine market placement data to prioritize sites with both strong foot traffic and straightforward installation logistics.
Power Survey
Confirm dedicated circuit availability and amperage rating before delivery to avoid on-site rewiring.
Water Access
Identify the nearest potable water line for plumbed units, or confirm reservoir refill logistics for non-plumbed models.
Floor and Space Check
Verify floor load rating and clearance for service access, door swing, and ventilation.
Drainage Planning
Confirm gravity or pump-assisted drainage routing for plumbed machines to prevent overflow issues.
Electrical and Power Requirements
Electrical requirements for commercial coffee vending machines typically call for a dedicated 120V or 208–240V circuit, depending on machine size and heating element wattage, because sharing a circuit with other high-draw equipment causes voltage drops that trigger heating faults. Most single-cup commercial units draw 13–20 amps at startup, dropping to a lower sustained draw once the boiler reaches temperature.
A dedicated circuit — not a shared outlet — is standard practice for any machine processing more than 100 cups per day. Installing on a shared or undersized circuit is a leading cause of the temperature-fault error codes covered in the coffee vending machine troubleshooting guide, since insufficient power prevents the boiler from reaching and holding brew temperature.
Voltage and Amperage by Machine Type
Compact office units generally run on standard 120V household circuits, while high-volume commercial machines with larger boilers require 208–240V three-phase power. Confirming this specification against the site's existing electrical panel before installation avoids a costly electrician callback.
Water Supply and Drainage Requirements
Water supply requirements depend entirely on whether the machine is plumbed or reservoir-fed: plumbed units need a direct potable water line rated for the machine's flow demand, while reservoir units need only a refill access point and staff availability for manual filling. Drainage, where applicable, must handle both brewing waste water and any overflow from the drip tray system.
Plumbed Installation Water Line Specs
Plumbed machines typically require a 1/4-inch or 3/8-inch water line connection with a shutoff valve and, in hard-water regions, an inline filter installed upstream of the machine. This filter placement is critical — it protects the boiler from the same scale buildup addressed in the cleaning and maintenance guide, extending component life from the moment the machine is installed.
Drainage Routing
Gravity drainage works when the machine sits above an accessible floor drain; otherwise, a pump-assisted drain kit routes waste water to the nearest drain line. Skipping proper drainage on a plumbed unit causes drip tray overflow, which is one of the more common post-install service calls.
Space and Clearance Requirements
Space and clearance requirements protect both service access and safe operation, since insufficient clearance restricts ventilation around the compressor and heating components, raising internal operating temperature and shortening part lifespan.
- Rear clearance: Most commercial units need 4–6 inches of rear clearance for ventilation and cable routing.
- Side clearance: At least one side should allow full door swing for restocking and service access.
- Overhead clearance: Confirm ceiling height accommodates the machine plus several inches for filter or hopper access from the top.
- Floor load rating: Larger commercial machines can weigh 300–500 lbs when fully stocked, requiring adequate floor support, especially on upper building levels.
Placement tip: Machines installed in high-traffic corridors need extra front clearance beyond the minimum spec, since customer queuing space directly affects transaction speed and perceived accessibility.
Step-by-Step Installation Process
The installation process follows a fixed sequence regardless of machine model: site prep, physical placement, utility connection, power-on diagnostics, and calibration. Skipping or reordering these steps is the most common cause of avoidable first-day service calls.
| Step | Task | Typical Duration |
|---|---|---|
| 1 | Confirm site meets power, water, and space specifications | Pre-delivery |
| 2 | Position machine and level using adjustable feet | 15–20 minutes |
| 3 | Connect power to dedicated circuit | 10 minutes |
| 4 | Connect water line and drainage (plumbed units only) | 30–45 minutes |
| 5 | Power on and run diagnostic self-test | 10–15 minutes |
| 6 | Load ingredients, cups, and calibrate dosing | 20–30 minutes |
| 7 | Run test cycles and confirm payment system connectivity | 15–20 minutes |
Plumbed vs Non-Plumbed Machines
Choosing between a plumbed and non-plumbed coffee vending machine affects both installation complexity and ongoing labor requirements. Plumbed units connect directly to a water line for continuous operation; non-plumbed units rely on an internal reservoir that requires manual refilling.
Plumbed Machines — Advantages
- No manual refilling, supporting higher daily cup volume
- Consistent water pressure and supply for high-traffic locations
- Lower labor overhead once installed
Plumbed Machines — Limitations
- Requires professional water line and drainage installation
- Less flexible if the machine needs to be relocated later
Non-Plumbed Machines — Advantages
- Simple installation — power connection only
- Fully portable and easy to relocate between sites
Non-Plumbed Machines — Limitations
- Requires regular manual refilling, limiting unattended capacity
- Risk of running dry during high-volume periods without monitoring
Operators comparing options for a home or small office setting often start with guidance from the best coffee machines for home office roundup, while high-volume commercial locations typically favor plumbed installations for uninterrupted service.
Permits and Compliance Considerations
Permit requirements for coffee vending machine installation vary by municipality and depend primarily on whether the installation involves new electrical circuits or plumbing modifications. A machine plugged into existing standard outlets typically requires no permit, while adding a dedicated circuit or a new water line often falls under local electrical and plumbing codes.
Commercial property managers and franchise operators evaluating a new location should confirm local code requirements early in the planning process — this is especially relevant for anyone following a coffee vending franchise model, where standardized installation specs must still pass local inspection at each individual site.
Installation Requirements at a Glance
This consolidated reference summarizes the core requirements operators need confirmed before a machine ships to a new location.
| Requirement | Standard Specification |
|---|---|
| Electrical circuit | Dedicated 120V or 208–240V, 13–20 amp depending on model |
| Water line (plumbed units) | 1/4" or 3/8" potable line with shutoff valve and inline filter |
| Drainage (plumbed units) | Gravity or pump-assisted drain to nearest floor drain |
| Rear clearance | 4–6 inches for ventilation and cable routing |
| Floor load capacity | Support for 300–500 lbs fully stocked |
| Network connectivity | Wi-Fi or ethernet for cashless payment processing |
Post-Installation Testing and Calibration
Post-installation testing confirms every subsystem functions correctly before a machine goes live, because a fault caught during calibration costs minutes to fix, while the same fault discovered after customer transactions begin costs both revenue and reputation. Testing should run multiple full brew cycles across every drink option, verify payment authorization end-to-end, and confirm cup and ingredient dispensing accuracy.
This step also establishes the baseline for future diagnostics — understanding how coffee vending machines work mechanically makes it easier to recognize when a reading during testing falls outside normal range. Operators should also confirm they understand the core coffee vending machine parts involved in this test sequence, since calibration issues often trace back to a single component rather than a systemic fault.
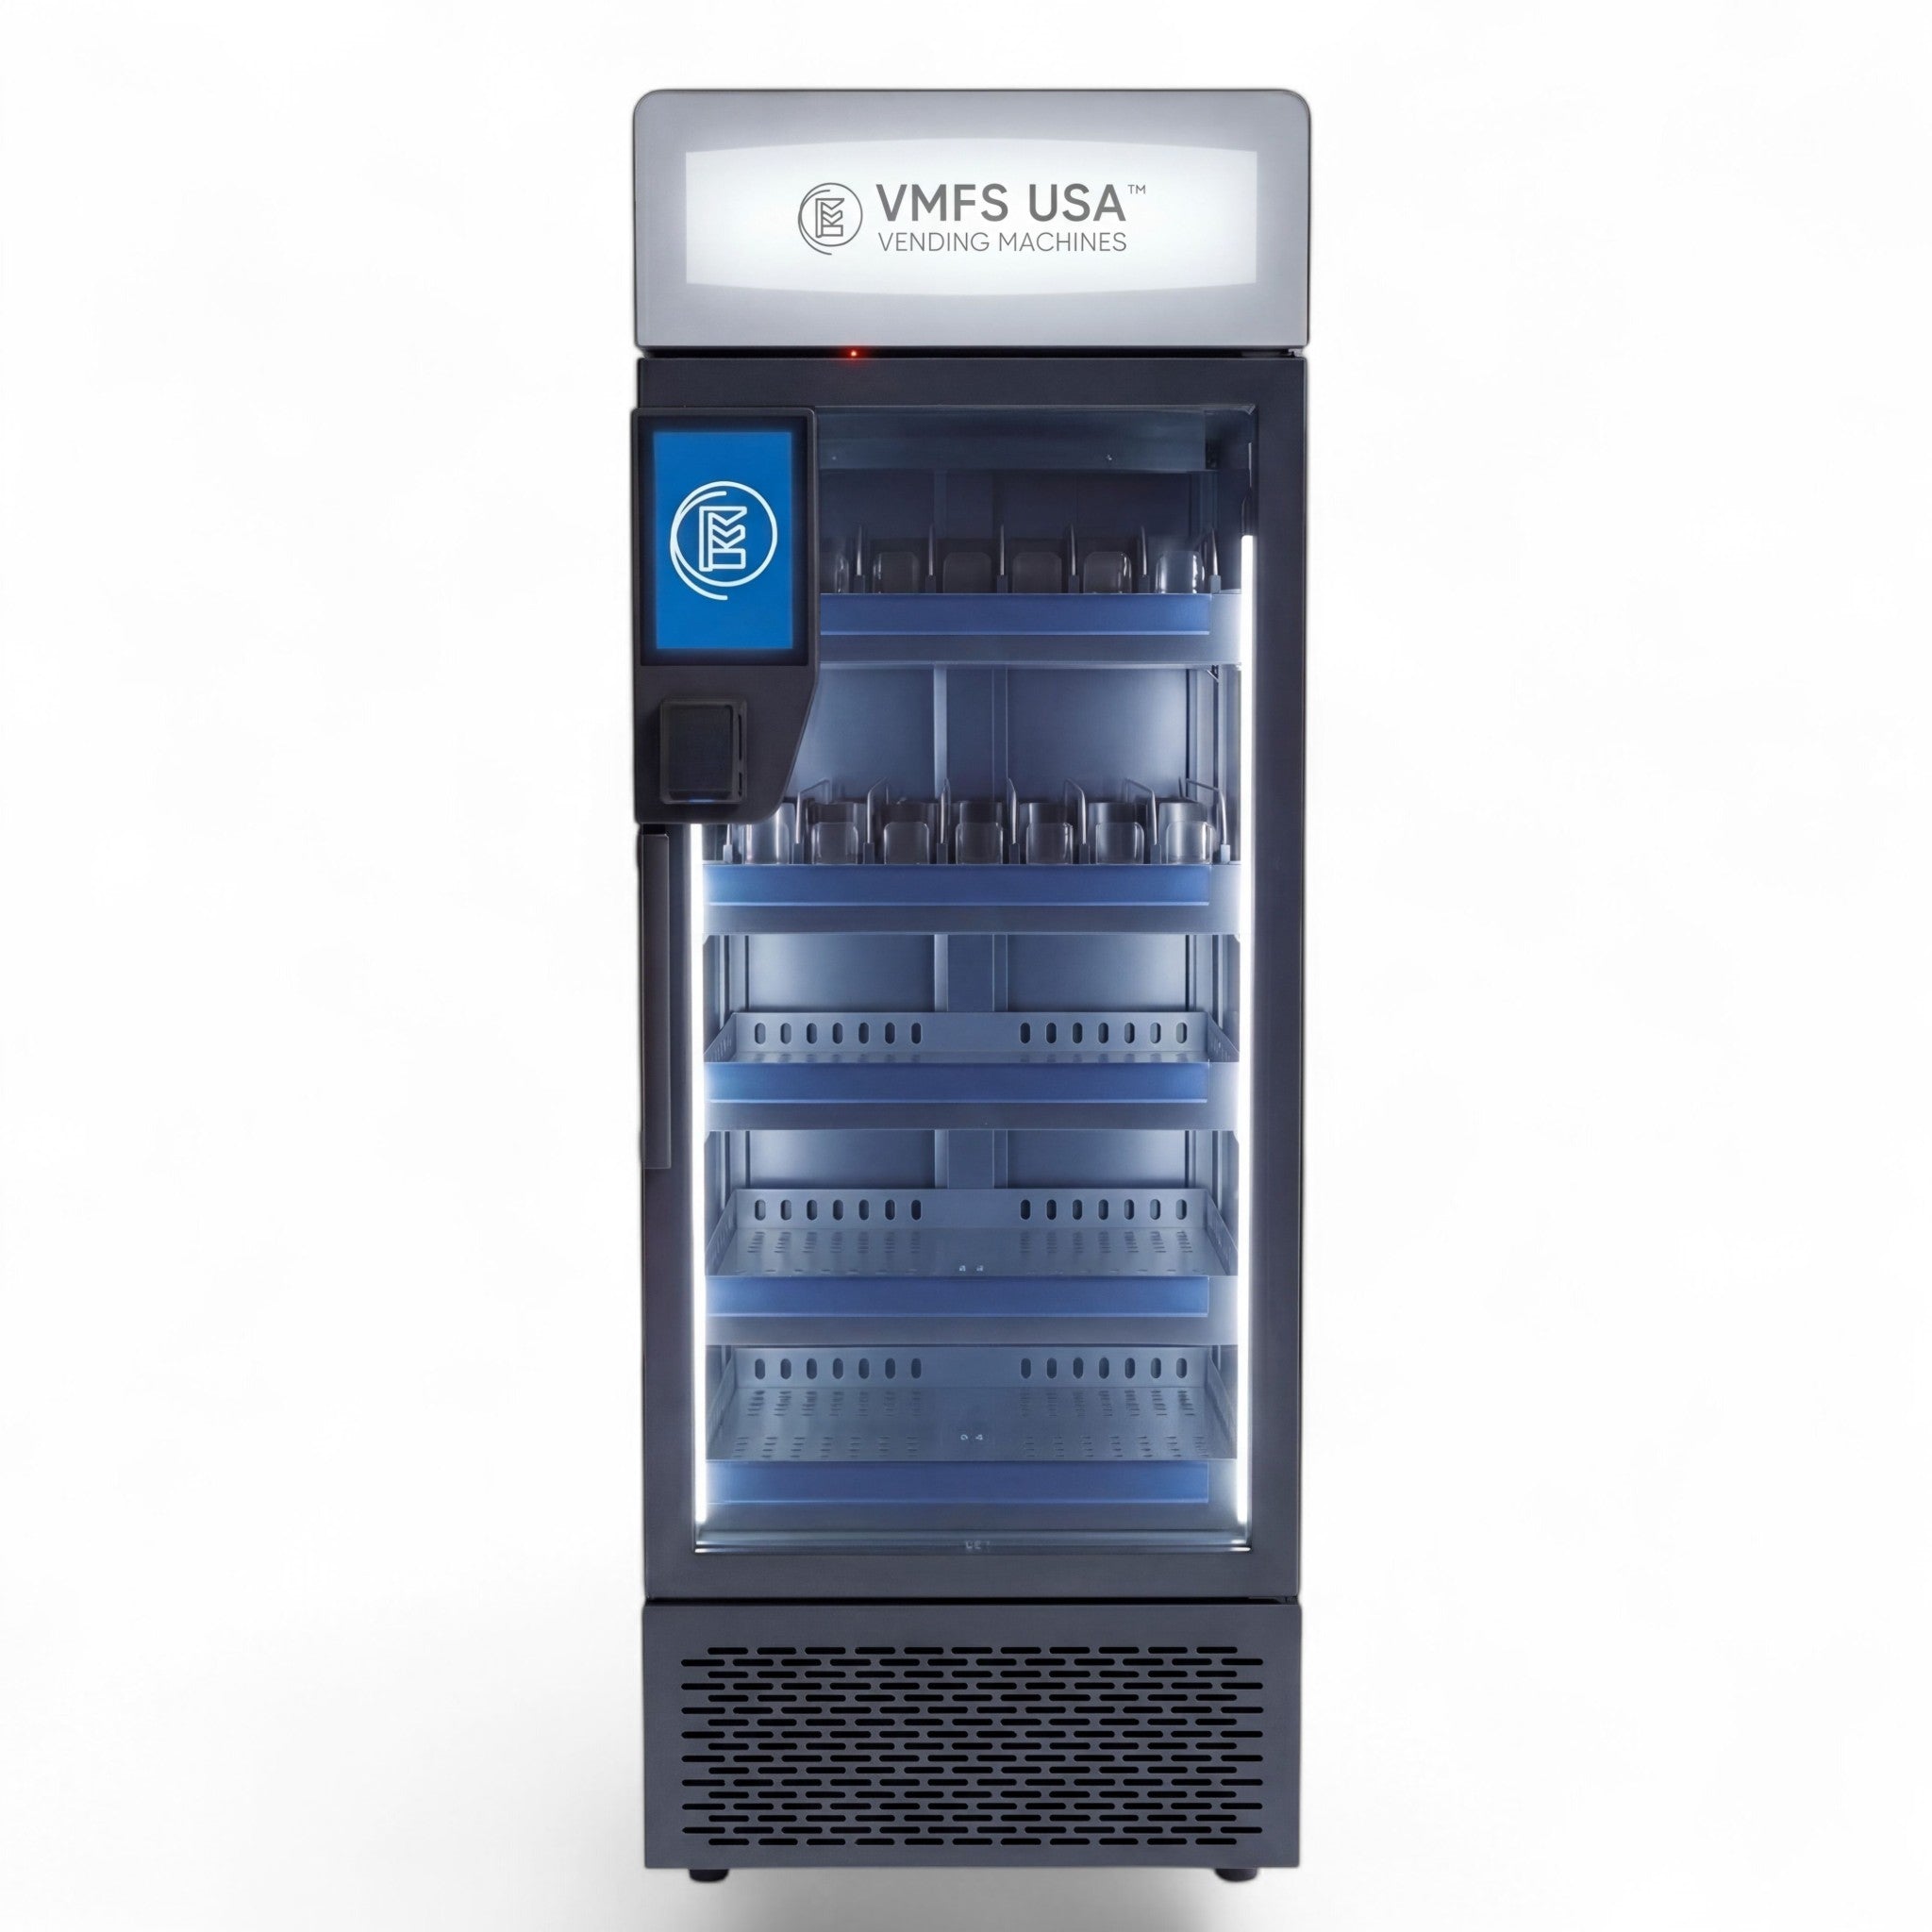
Ready to Install a New Coffee Vending Machine?
Browse VMFS USA's commercial coffee vending machine lineup — built for straightforward installation and reliable day-one performance.
Shop Coffee Vending Machines


Compartir:
Coffee Vending Machine Parts: The Complete Guide