


Vending machine inventory management is the system that decides what goes in each slot, how many units each slot should hold, when a machine gets restocked and how you prove that every unit loaded was either sold, spoiled or lost. Done well, it keeps best sellers in stock, keeps expired product out of the machine and keeps cash out of your warehouse shelves.
This guide walks US operators through the full cycle: building a planogram, sizing coils, setting par levels, loading a machine step by step, rotating stock by date, tracking and forecasting from sales data, choosing a restock schedule, controlling shrink and buying stock without tying up capital.
What Vending Machine Inventory Management Covers
Vending machine inventory management covers four jobs: deciding the product layout of every machine, keeping each slot filled to a target quantity, rotating stock so the oldest units sell first, and reconciling what you loaded against what sold. Each job feeds the next. A planogram defines capacity, capacity sets the par level, par levels drive the pick list, and the pick list is what your driver carries to the site.
Most operators start with a notebook or a spreadsheet and a fixed weekly route. That works for a handful of vending machines, but every added machine multiplies the counting, the guessing and the wasted trips. The operators who scale treat inventory as data: they read sales from the machine, build pick lists before the van leaves, and visit a site because it needs service rather than because it is Tuesday.
The vocabulary below is the shared language between you, your drivers, your warehouse and your software. Use the same terms on pick lists, service logs and planograms so nobody has to translate.
| Term | What it means in practice |
|---|---|
| Planogram | The map of a machine: which product sits in each tray and column, at what price, with what capacity and par level. |
| Capacity | The most units a coil, column or shelf lane can physically hold without crowding or jamming. |
| Par level | The target quantity you fill a slot to on each visit. It can equal capacity or sit below it for slow sellers and short-dated items. |
| Pick list | The list of products and quantities a driver needs for one machine, built from current slot counts. |
| Pre-kitting | Packing each machine's pick list into its own tote at the warehouse before the route starts. |
| DEX | The data file a machine controller produces with sales and cash counts by selection, read with a handheld or sent by telemetry. |
| FIFO | First in, first out: older units are moved forward so they sell before newer units with later dates. |
| Shrink | Inventory you paid for that never turned into a sale: theft, damage, spoilage, miscounts and mis-loads. |
| Dwell time | Minutes a driver spends at a site servicing one or more machines. |
| Coil pitch / spiral count | How many products a spiral holds from front to back, which also sets the spacing between loops. |
If you are new to the business and still choosing equipment, it helps to know which data your machine can produce before you design your inventory process. Our explainer on MDB and DEX in vending machines covers how controllers, card readers and audit files talk to each other.
How to Build a Vending Machine Planogram
A vending machine planogram is a slot-by-slot plan that assigns each product a tray, a column, a price, a capacity and a par level, and you should build one before you buy your first case of stock. Cantaloupe's vending glossary describes the planogram as a visual map of where each product goes, along with its pricing, par and capacity. Without one, drivers improvise, prices drift between machines and your sales reports cannot compare like with like.
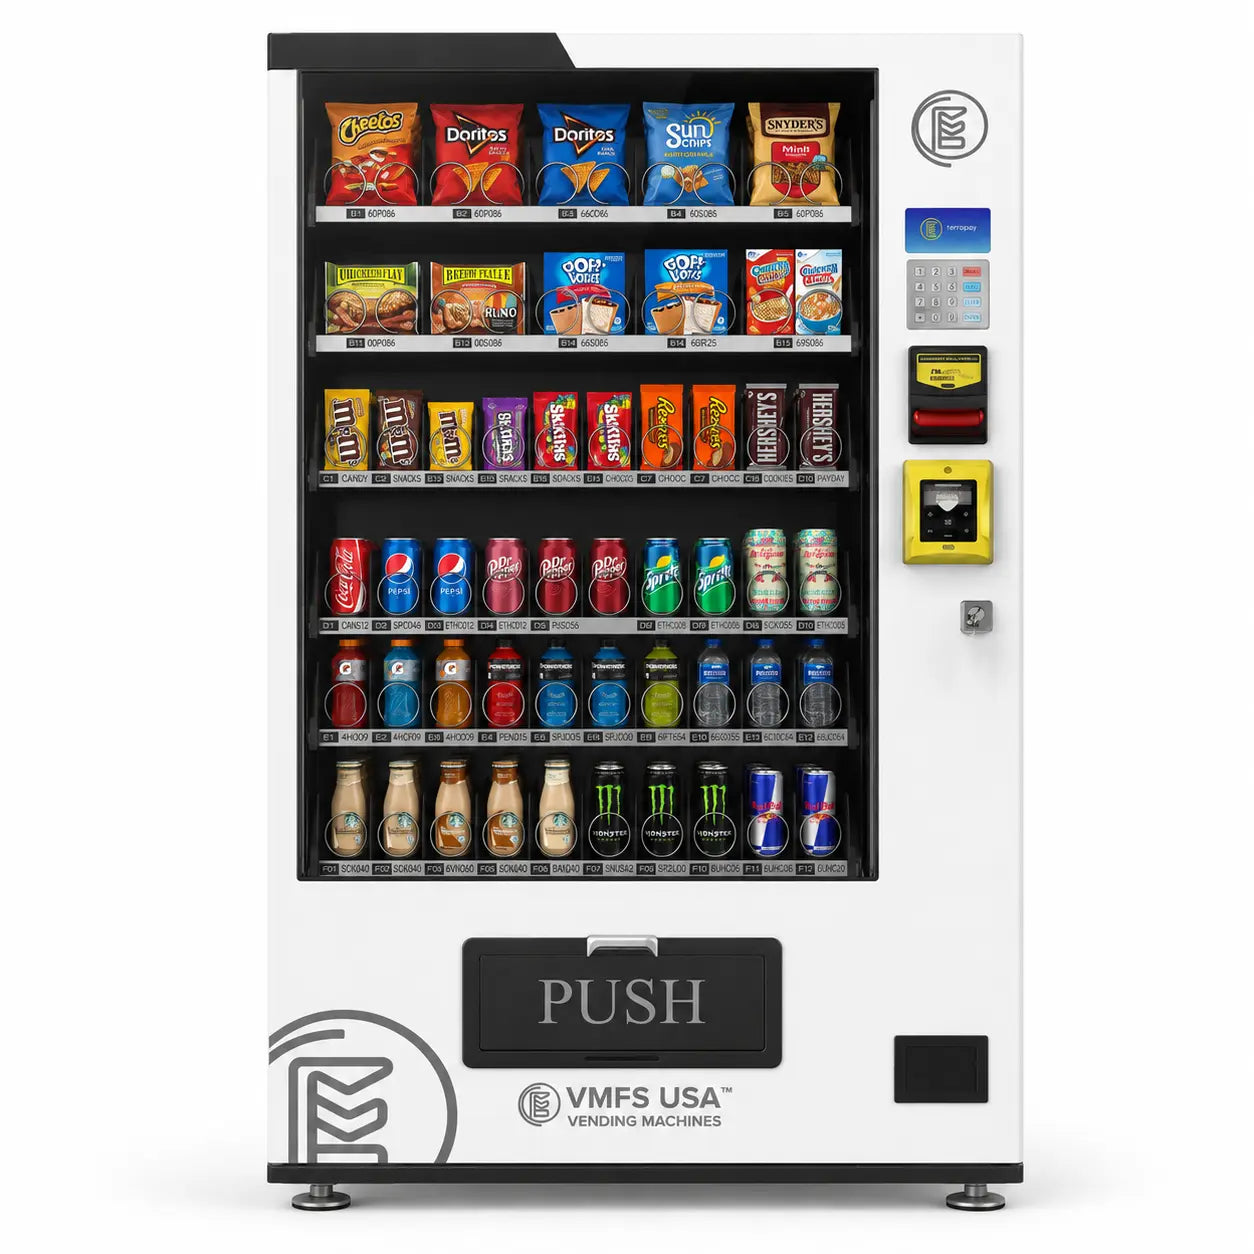
Start from the machine's physical layout, not from a product wish list. Count trays and columns, note which columns are wide or double spirals, and note any refrigerated or elevator section. Then assign product families to zones so customers can scan the glass quickly. Within each zone, separate look-alike items and similar package colors, a technique Cantaloupe calls color breaking, so buyers can see the variety instead of a wall of one color.
Weight and package shape decide the rest. Heavy bottles and cans belong on trays rated for them, usually the bottom trays of a combo machine. Tall, light bags suit trays with more vertical clearance. Narrow bars and gum suit high-count spirals. Your fastest sellers deserve more than one column, because a single column of a top seller will be the first slot to sell out and sets the restock date for the whole machine.
Use location data when you assign the remaining columns. An office breakroom, a gym and a hospital waiting room buy differently, and the first four weeks of sales will show you which columns are earning their space. For product ideas by location, see our guide to what sells best in vending machines, and for wellness accounts see healthy vending machine snacks.
Zone by category
Group chips, candy, pastries and drinks so a buyer can scan one zone, and break up look-alike packages with contrasting colors.
Weight goes low
Bottles and heavy items go on trays rated for the load. Light, tall bags go where vertical clearance is greatest.
Double up best sellers
Give a top seller two columns so it does not run out first and force an early, half-empty restock visit.
Price on the plan
Record the price on the planogram so every machine in the route charges the same and price changes are deliberate.
You can draw your first layout with the free VMFS planogram builder: set the number of trays and selections, choose ambient or refrigerated, fill products slot by slot and download a PDF for your driver. Once the machine is online, VMFS Cloud shows the same planogram on screen with product, price, capacity, par level and live stock for each slot, and lets you copy a planogram to a new machine before it is plugged in.
Map your machine before you buy stock
Build trays, assign products slot by slot and download a planogram PDF for your route in minutes.
Open the Planogram BuilderMatching Products to Spiral Coils and Trays
Match each product to the spiral whose loop spacing is just wider than the package is thick, because a coil that is too tight jams and a coil that is too loose lets items tip, hang or drop two at a time. The spiral count tells you how many items a coil holds, and the higher the count, the tighter the spacing between loops.
Crane Payment Innovations publishes the numbers for its Merchant machines, and they show how quickly spacing shrinks as the count rises. Other brands use different spirals, so treat this as an example of how to read a spec sheet, then check the manual for your own machine.
| Spiral count (items per coil) | Space between loops | Typical fit |
|---|---|---|
| 5 | 4.58 in | Thick, bulky items: large bags, boxed pastries |
| 6 | 3.78 in | Standard chip bags and puffed snacks |
| 8 | 2.90 in | Smaller bags, cookies, thick pastries |
| 10 | 2.22 in | Crackers, thick bars, snack cakes |
| 15 | 1.41 in | Standard candy bars and protein bars |
| 20 | 1.02 in | Thin bars, flat packs |
| 30 | 0.60 in | Gum, mints and other very thin items |
Two more rules from the same spec sheet prevent most feed problems. First, on a single spiral, the product should be about half an inch taller than the spiral's diameter, so the package stands upright and cannot roll inside the loop. Second, horizontal packages, such as wide pastry boxes or flat trays, belong on double spirals that hold both sides level as they move toward the drop edge. Crane also lists tray load limits (22 lb per snack and candy tray, 62 lb per bottle tray) and a 7 lb load rating per column motor, which is why heavy items need the right tray, not just the right spiral.
When you change a product, re-check the fit. A brand that redesigns its bag, or a summer swap from a slim bar to a chunky one, can turn a clean column into a jam column overnight. Test-vend every changed column before you leave the site, and update the planogram so the next driver loads the same item in the same coil. Our guide on how to program a snack vending machine covers setting prices and selection numbers after a layout change.
How to Set Par Levels for Each Slot
Set each slot's par level to the number of units it sells between visits plus a small buffer, and never above the slot's physical capacity. That keeps fast sellers from running out before the next service and keeps slow or short-dated items from sitting in the machine long enough to expire.
A simple method works for most routes. Pull the average daily unit sales for the slot from the last four to eight weeks, multiply by the number of days until the next planned visit, then add a buffer to cover a busy week. If the result is higher than the coil holds, the slot needs a second column or more frequent visits. If the result is far below capacity, consider a lower par so you are not storing slow stock in the machine.
Worked example: a protein bar column sells an average of 3 bars a day and the site is serviced every 7 days. Expected sales are 3 × 7 = 21 bars. Adding a buffer of about one extra day gives a par of 24. If that column is a 15-count spiral, it cannot hold 24, so give the item a second column or move it to a site visit schedule that matches its velocity.
Par levels are not permanent. Review them whenever sales shift by season, when a location's headcount changes, or when you add a new product. Slots that come back nearly empty every visit are under-par and are costing you sales; slots that come back nearly full are over-par and are tying up stock. In VMFS Cloud, you set capacity and par per slot, low stock is highlighted per slot rather than only per machine, and the pick list for the next visit is generated from real slot counts.
| Slot status at restock | What it tells you | Action |
|---|---|---|
| Empty or nearly empty | Par is too low for the visit interval | Raise par up to capacity, add a column or shorten the interval |
| Half sold | Par is close to right | Keep par, review again next month |
| Barely touched | Par is too high, or the product is the wrong fit for the site | Lower par, discount if dates are close, or swap the product |
| Expired units found | Turnover is slower than shelf life | Lower par well below capacity or remove the item |
How to Stock a Vending Machine on Location
To stock a vending machine, arrive with a pre-packed tote for that machine, record the sales audit, service the cash and payment hardware, pull older stock forward and load new stock behind it, check the mechanics, then test-vend and clean before you leave. Following the same order at every stop is what keeps service fast and keeps errors out of your records.
Pre-kitting is the step that changes route economics. Instead of carrying a mobile warehouse and counting at each machine, the warehouse packs each machine's tote from its pick list before the van leaves. In a 2009 Vending Market Watch report on pre-kitting, the publication estimated that the practice lets operators service 15 to 20% more machines on existing routes, and one operator interviewed estimated a 40% productivity gain. Results vary by route, but the logic holds for any operator: fewer trips back to the van, fewer counting errors and smaller vehicles carrying only what is needed.

Step 1: Record the audit before you touch stock
Open the machine and capture the sales and cash audit first, either with a DEX handheld or by confirming the machine's last telemetry report. Recording before you load means every unit you add can be matched to what the machine reported as sold, which is the basis of shrink control later in this guide.
Step 2: Service cash and payment hardware
Pull the cash box into a locked bag, refill coin tubes to your standard float so the machine does not drop into exact-change mode, and clear any jammed bills or bent coins. Check that the card reader is online. A dead reader quietly cuts sales at most sites, and our guide to cashless payment systems for vending machines explains what to check.
Step 3: Rotate and restock
Pull the remaining units in each coil or lane forward toward the delivery door, check their dates, set aside anything damaged or expired and log it, then load new units behind the existing ones. Keep labels facing the glass and load bags bottom seam first so the trailing loop of the spiral cannot catch the top seal.
Step 4: Check coils, dividers and sensors
Confirm every spiral is in its home position, side dividers fit the package without pinching it, and nothing touches the coil above. Wipe the drop sensor at the bottom of the delivery bin, because snack dust and residue can cause false readings on machines that use optical sensors to confirm a vend.
Step 5: Test-vend, clean and log
Close the door and run a test vend on any column you changed, once with cash and once with a card if possible. Clean the glass, keypad and payment area, then log the service so your records show what was loaded, removed and counted.
Loading by machine type
Machine design changes the technique. In ambient snack vending machines, tilt the tray to reach rear loops rather than pulling it fully out, and never fold a bag's top seam back over the wire. In drinks vending machines, follow the manufacturer's orientation for cans and bottles in each stack or lane, since a reversed bottle can wedge in a drop chute. In combo vending machines and other refrigerated units, keep product clear of the rear air path so the cabinet holds temperature.
Refrigerated food carries legal limits. Under the FDA Food Code as adopted by states such as Virginia, a machine vending time/temperature control for safety (TCS) food must have an automatic shutoff that stops sales when it cannot hold safe temperatures, and after filling or servicing the cabinet may not stay above 41°F for more than 30 minutes; hot-holding machines may not sit below 135°F for more than 120 minutes. Confirm the cabinet is back at temperature before you leave. For fragile or fresh items, elevator vending machines lower the product to the door instead of dropping it, and the VAdviced guide to food safety rules for a food vending machine covers permits and inspections.
Common stocking mistakes to avoid
- Overfilling a coil. Forcing extra items into a spiral binds the package and stalls the motor, which shows up as jam errors and refund requests.
- Tucked bag seams. A seal folded over the wire catches on the next rotation, leaving the bag hanging in the glass.
- Heavy items up high. Bottles on upper wire trays strain slides and exceed tray ratings.
- Dirty drop sensors. Dust on the sensor causes missed or false vend detection.
- Turning coils by hand without re-homing. Use the controller's motor test or home function after manual adjustments.
When a machine keeps jamming even after correct loading, it is a service issue rather than a stocking issue. Our hub on vending machine maintenance covers cleaning schedules, tools and troubleshooting.
FIFO Rotation and Expiration Date Control
FIFO rotation means the oldest units in every slot sell first: you pull existing stock forward and put new stock behind it on every visit, in the machine and in the warehouse. It is the single cheapest way to cut spoilage, because it costs a few seconds per column and prevents write-offs that cost the full product price.

Know what the dates on your packaging mean. The USDA Food Safety and Inspection Service explains that "Best if Used By" signals peak quality rather than safety, "Sell-By" is an inventory date for the seller, and that apart from infant formula, product dating is not required by federal regulation. That does not make old stock acceptable in a machine: a customer who buys a stale bag blames your machine, not the manufacturer. Set your own pull window, for example removing shelf-stable snacks a few weeks before the printed date, and shorter windows for anything refrigerated.
Rotation starts at the warehouse. Store cases with the oldest date in front, write the receive date on each case, and pick from the front. When a slot keeps producing expired units, the fix is not more careful rotation; it is a lower par level, a better-selling product or a discount to clear stock before the date. USDA also estimates that 30% of the food supply is lost or wasted at the retail and consumer levels, which is a reminder that ordering to real sales is a waste control as much as a cost control.
Product changes also affect labeling. FDA rules require operators who own or operate 20 or more vending machines to disclose calorie information for the food they sell, so when you swap products on a large route, update the calorie signage or make sure the package's nutrition panel is visible to the buyer.

How to Track Vending Machine Inventory
You track vending machine inventory in one of three ways: manual counts recorded on paper or a spreadsheet, DEX audits pulled from each machine at every visit, or telemetry that reports every sale in real time. Each step up removes a layer of guessing and a trip to the site.
| Method | How it works | Best for | Main weakness |
|---|---|---|---|
| Spreadsheet or paper log | Driver counts each slot on arrival and records what was added | 1 to a few machines close to home | You only learn a slot sold out when you arrive; counts depend on the driver |
| DEX audit at each visit | Handheld reads sales and cash by selection from the controller | Small routes with older machines | Accurate history, but still no visibility between visits |
| Telemetry and vending software | Machine reports every sale, stock level and alert over the network | Any route where trips, labor or perishables matter | Monthly software cost and a need for connectivity at the site |
A vending machine inventory spreadsheet is still a sensible start. Give each machine a tab, list slots in planogram order with product, price, capacity and par, and record on every visit the count found, units added and units removed as expired or damaged. Units sold equals the previous fill minus the count found. The weakness is not the spreadsheet; it is that you only see the data after the drive.
Telemetry moves that work to the machine. VMFS Cloud records every sale with machine, slot, product, payment method and time, calculates cost and margin on each line, and tracks stock from warehouse receipt to kitting, loading and sale. Alerts for low stock, jams, offline status and temperature go by SMS or email to the person who should act on them, and comparing what was loaded with what sold reveals jams, mis-loads and shrink without a site visit. For the wider case for connected machines, see our article on remote monitoring in vending machines.

Telemetry advantages
- See sold-out slots before customers complain
- Pick lists built from live counts, not estimates
- Visit only machines that need service
- Sales and margin by slot for planogram decisions
- Alerts for jams, temperature and offline machines
Telemetry trade-offs
- Monthly software or connectivity cost per machine
- Sites with weak signal need a plan for coverage
- Data only helps if someone reviews it weekly
- Older machines may need a controller or DEX upgrade
Whatever you use, measure the same few numbers every month: sales per machine, units per slot, sell-out frequency, expired units and shrink. Our guide to tracking vending machine ROI shows how those operational numbers roll up into return on each machine.
Forecasting Demand from Sales Data
Forecasting vending demand means using each slot's recent sales, adjusted for season, calendar and site changes, to decide how much to buy and load before the next visit. You do not need complex models: a moving average per slot plus a short list of known events gets most operators close enough.
Start with velocity. For every slot, calculate average units per day over the last four to eight weeks. That number drives par levels, purchase quantities and visit timing. A four-week average reacts quickly to change; an eight-week average smooths out a one-off busy week. Rank products by velocity and margin together, because a slow item with a high margin can still earn its column while a fast item priced too low may not.

Then adjust for what the average cannot see. Weather moves cold drinks and hot coffee. School terms, shift changes, holidays, conventions and office return-to-work days all change traffic. New Year diet resolutions can lift healthier items, and exam weeks on campus can lift energy drinks. Keep a simple calendar per location and plan your purchases a week ahead of each known swing.

Use slow-mover rules to clean the menu. Cantaloupe describes coil alerts that flag columns with no sales over a set period: the cause may be a product nobody wants, which you can swap, or a jammed coil on a popular item, which needs a service call rather than a menu change. Review that list monthly, swap out products that have had a fair trial, and give the space to proven sellers or a test item. Customer requests are worth logging too, because they show demand your current sales data cannot.
When you change prices to manage demand, keep the change on the planogram and in your software at the same time. Our operator pricing guide covers setting prices that protect margin without slowing sales.
How Often to Restock a Vending Machine
Most snack and cold drink machines are restocked about once a week, hot drink machines about twice a week, and fresh food machines are checked as often as daily, but the right interval for any one machine is the time it takes its fastest slot to sell down to a few units. Industry guides from Vendnet USA and Connect Vending both describe weekly service for snack and drink machines and roughly twice-weekly service for hot drinks, with busier sites needing more and quiet sites less.
| Machine type | Typical service interval | What drives it |
|---|---|---|
| Snack machine | About weekly; more often at busy sites | Fastest-selling columns and coil capacity |
| Cold drink machine | About weekly; mid-week check at high-traffic sites | Weather and stack capacity |
| Hot drink or coffee machine | About twice a week | Ingredient use and cleaning needs |
| Fresh food or refrigerated meals | Daily checks are common | Short shelf life and temperature rules |
| Low-traffic candy machine | Monthly or less | Long shelf life and slow sales |
Fixed schedules are simple but wasteful: some visits arrive when a machine is still mostly full, while others arrive after best sellers sold out. Dynamic scheduling fixes that by building each day's route from the machines that actually need service, based on real-time depletion and geography. Cantaloupe's glossary defines dynamic scheduling the same way, noting that it also helps the warehouse pre-kit more efficiently, and it is only possible when machines report their stock.
Restock timing also depends on who is doing the work. A solo operator can tolerate a slightly longer interval if pre-kitting keeps each stop short; a growing route may need a second person on peak days. Our guides on restock scheduling and route planning and on how to restock efficiently and protect your profit go deeper into routes and labor. Agree on service windows with each location in writing so drivers are not turned away at the door.
Controlling Shrink, Spoilage and Miscounts
Vending shrink is the gap between the inventory you bought and the sales you recorded, and you control it by reconciling three numbers on a regular cycle: units loaded, units the machine reports as sold, and units physically counted. When those three agree, there is no shrink. When they do not, the pattern tells you where to look.
For context, the National Retail Federation's 2023 National Retail Security Survey put average retail shrink at 1.6% of sales in fiscal 2022. Vending is a different channel, but the categories are the same: theft by outsiders or staff, damaged and expired product, mis-loads where an item is placed in the wrong column, and recording errors. Unattended machines remove some theft risks and add others, such as forced entry at poorly lit sites.
Spoilage
Expired or stale units found during rotation. Measure it as units discarded against units sold (5 thrown out for every 95 sold is 5%). Fix with lower par, better rotation or a product swap.
Mis-loads
Product loaded in the wrong column sells at the wrong price and breaks the sales data. Fix with a printed planogram per machine.
Jams and failed vends
Refunds and stuck items show as missing stock. Fix coil fit and sensors, and watch jam alerts.
Theft
Cash or product missing between visits. Fix with locks, cashless payments, site choice and counts by a second person.
You do not need a full physical count on every visit. Cantaloupe's glossary defines an inventory interval as the number of services a machine can go through before a physical count is needed to reconcile with your vending software. Set a shorter interval for new drivers, cash-heavy sites and machines without telemetry, and a longer one where sales data is reliable. Between counts, the machine's sales data and your load records carry the reconciliation. If one route or one driver shows a persistent gap, count more often there.
Warehouse shrink matters as much as machine shrink. Receive deliveries against the invoice, keep the stock room locked, and record every case moved to a route. VMFS Cloud tracks stock from the moment it is received into your warehouse through kitting and loading, so purchase cost flows into margin reporting and gaps show up as numbers instead of suspicions.
Sourcing and Warehouse Stock
Buy stock in quantities that match each product's real velocity across your route, from suppliers whose case sizes and delivery schedules fit your warehouse space and cash flow. The cheapest case price is not a saving if half the case expires on a shelf.
Wholesale clubs suit new operators because you can buy small quantities and see the product before you buy. Cash-and-carry distributors and broadline vending distributors offer wider ranges and better prices as volume grows, and online wholesale fills gaps for specialty items. Our guide on where to buy snacks for vending machines compares the main options, and our breakdown of the cost to stock a vending machine covers the opening inventory budget for a new machine.
Plan purchases from your forecast, not from habit. Add up each product's weekly velocity across all machines, multiply by the weeks until your next order, and subtract what is already on the shelf. Keep a small safety stock on proven sellers, and keep test products to a single case until they prove themselves. Excess inventory ties up cash that could fund another machine, while too little forces emergency store runs at retail prices.
Your equipment choices shape this too. A Seaga ENV4S snack vending machine ($3,950) runs on ambient stock with long shelf life, while a Smart Combo Vending Machine ($4,650 to $4,950) sells drinks alongside snacks, which means two product families with different case sizes, turnover and rotation needs. If you plan to sell fresh food, look at fridge vending machines and budget for shorter service intervals before you commit to the menu. Match your stocking model to the machines and sites you can service well.
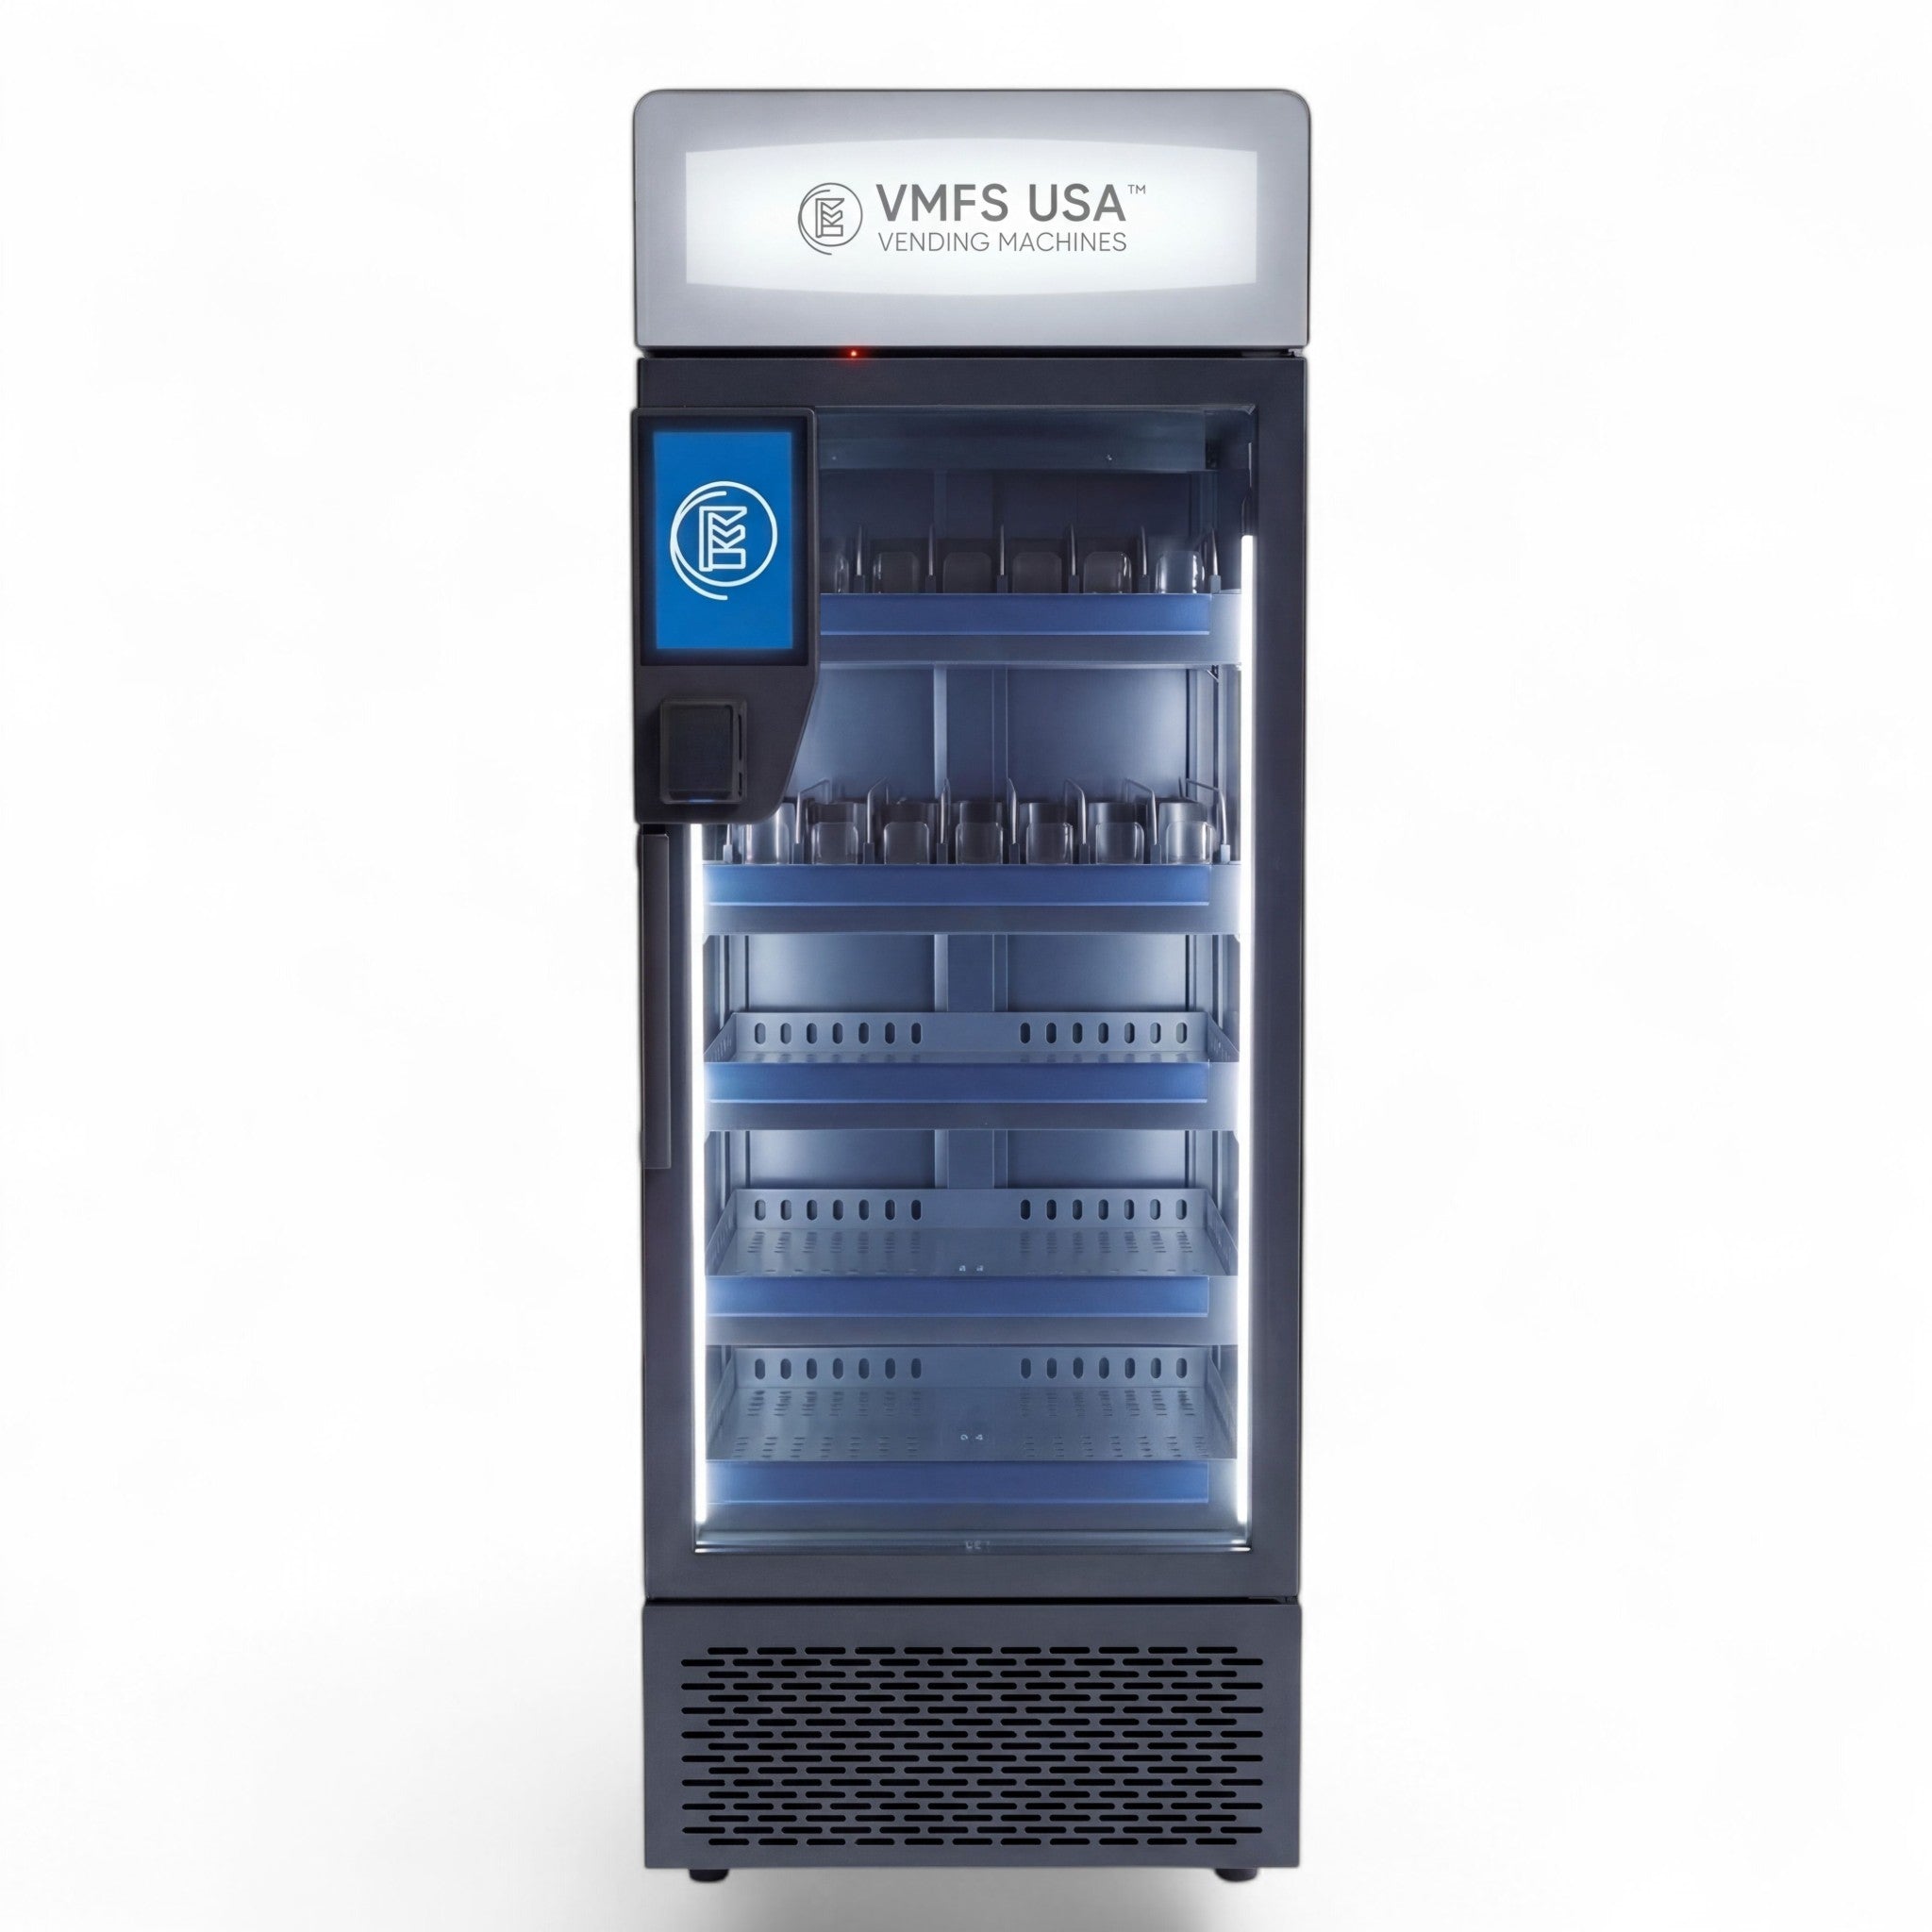
Machines that track their own inventory
Touch-screen smart machines report every sale, stock level and alert, so your pick lists build themselves.
Shop Smart Vending MachinesFrequently Asked Questions
Sources
- Crane Payment Innovations — Merchant vending graphic and configurations (spiral counts, spacing and tray limits)
- Cantaloupe — Vending Glossary
- Vending Market Watch — Pre-Kitting Increases Route Productivity (2009)
- USDA Food Safety and Inspection Service — Food Product Dating
- Virginia Administrative Code 12VAC5-421-1310 — Vending machines, automatic shutoff
- U.S. Food and Drug Administration — Menu and Vending Machine Labeling
- National Retail Federation — National Retail Security Survey 2023
- Vendnet USA — How Often Should You Restock Your Vending Machines?
- Connect Vending — How Often Should a Vending Machine Be Restocked?
Share:
Relocate vs. Pull the Machine: A Decision Guide for Unprofitable Vending Locations
Commission vs. Rent vs. Free Placement: The Ultimate Vending Location Guide