


Vending machine maintenance means wiping touch points and checking stock, temperature and payments on every visit, inspecting spirals, motors and bill validators monthly, and cleaning the condenser coil about every three months so the machine keeps selling instead of sitting broken.
This guide gives US operators one complete schedule and checklist, the hygiene and food-safety basics, a tool kit, first fixes for common faults, typical repair costs, and how warranty and parts support fit in.
Why Vending Machine Maintenance Pays for Itself
Maintenance pays for itself because a machine that is dirty, warm, jammed or refusing cards stops earning the moment the fault starts, while most of the work that prevents those faults takes minutes per visit. Every failed vend costs you the sale, often a refund, and some of the customer's trust in that machine. A buyer who loses a dollar to a stuck spiral tends to walk past the machine for weeks, so the real cost of a fault is larger than the one transaction it blocks.
The economics are straightforward. A route visit already puts you in front of the machine to restock and collect, so adding a two-minute wipe-down, a glance at the temperature display and a test vend costs almost nothing. Skipping them lets small problems compound: dust on the condenser makes the compressor run longer, a sticky delivery bin attracts complaints and pests, and a bill validator that rejects worn notes quietly pushes customers away. When something finally breaks, it usually breaks on a busy day, and the repair bill arrives together with lost revenue.
Maintenance also protects the asset and your paperwork. VMFS USA states that its machines are engineered for an operational life of 10 or more years with normal use and proper care, and its written warranty policy lists lack of maintenance among the conditions it does not cover. A dated service log is therefore part of your warranty protection as well as a diagnostic tool. Good upkeep also keeps location managers happy, which matters when contracts come up for renewal.
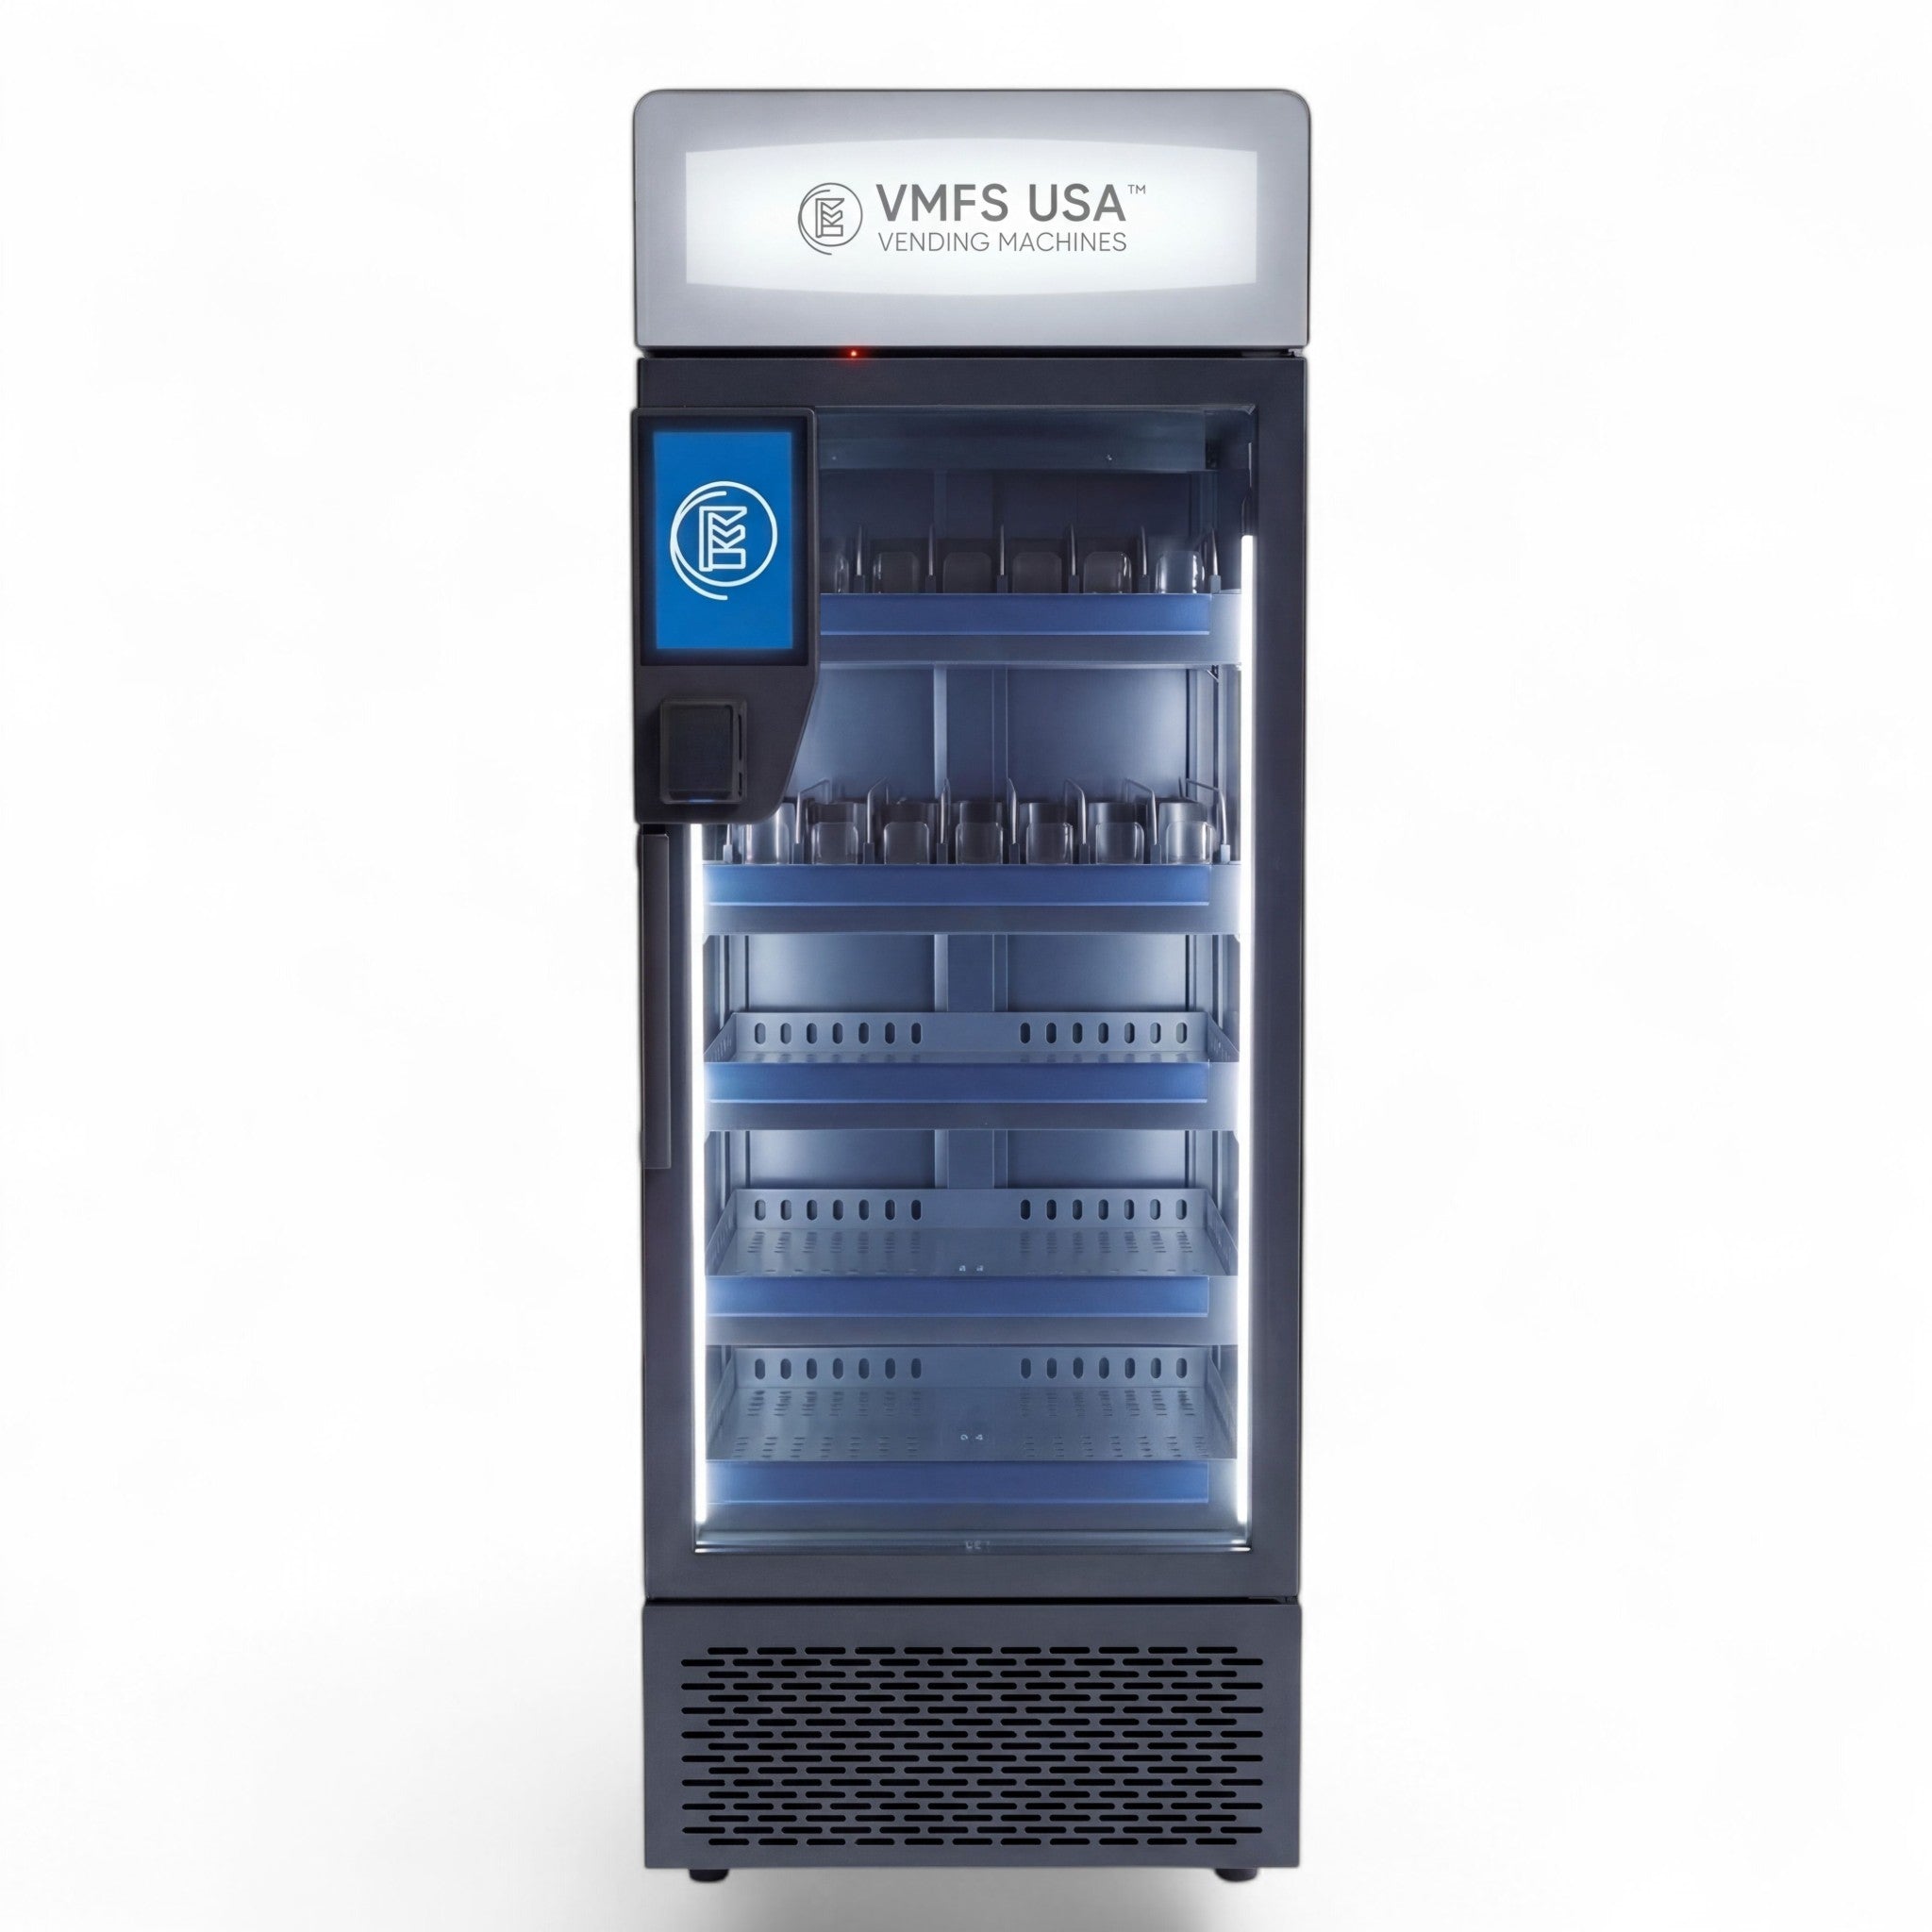
This guide brings our maintenance, hygiene, tools, service and cost advice into one place for operators running snack, drink, combo and fresh-food vending machines. Coffee brewers have their own descaling and brewer-cleaning routine, covered in our coffee vending machine cleaning and maintenance guide.
Vending Machine Maintenance Schedule and Checklist
A workable schedule splits tasks by frequency: quick checks on every service visit, a fuller interior clean weekly, mechanical and payment checks monthly, and refrigeration and electrical work every quarter. Tie the visit-level tasks to your restocking route so they never become a separate trip. The table below is a baseline for an indoor machine with moderate traffic; tighten it for busy or dusty sites and for anything selling fresh food.
| Frequency | Tasks | Why it matters |
|---|---|---|
| Every visit (daily to weekly, by traffic) | Wipe glass, keypad, touchscreen and delivery bin; check temperature reading; rotate stock first-in, first-out and pull expired items; run a test vend; confirm card reader shows ready; clear error codes | Catches jams, warm cabinets and payment outages before customers do |
| Weekly | Clean shelves, trays and spill pans; wipe door gasket; clean coin return and bill entry path; check that each spiral or elevator lane vends cleanly | Sticky residue and crumbs cause product hang-ups and attract pests |
| Monthly | Inspect spirals, motors and wiring harnesses for wear; clean bill validator sensors and belts with approved cleaning cards; test coin mechanism payout; check lights, door lock and keys; check power cord and outlet | Payment hardware and vend motors are the parts that fail most often |
| Quarterly | Clean condenser coil and fan; verify thermostat against a separate thermometer; inspect door gasket seal; level the cabinet; install software or firmware updates; review fault history | Keeps refrigeration efficient and stops repeat faults at the source |
| Annually | Full deep clean and inspection; replace worn gaskets, spirals and lock cylinders; review machine age, repair spend and location performance | Sets the repair-or-replace decision on facts |
Adjust frequency to the location rather than the calendar. A hospital lobby or factory break room may need the touch points sanitized every day, while a quiet office machine might only need a weekly clean. Machines near loading docks, construction or kitchens collect dust and grease faster, so their coils and fans need attention sooner. For the restocking side of each visit, our vending machine operating checklist breaks daily and weekly routines into standard operating procedures.
Keep a maintenance log for every machine
A log turns scattered repairs into data you can act on. Record the date, machine serial number, location, what you cleaned, the temperature reading, any error codes, parts replaced and who did the work. After a few months the pattern shows itself: the same lane jamming every week points to a product that does not fit the spiral pitch, and a cabinet that runs warm every afternoon points to a blocked vent or a struggling compressor. The log is also the first thing a technician or warranty team will ask for, so keep it with the machine record rather than in your head.
Plan around seasons and route density
Summer heat increases both demand and refrigeration load, so schedule coil cleaning and gasket checks before the hot months rather than during them. Winter brings different issues for semi-outdoor sites, such as condensation and cold-weather payment reader glitches. When you run several machines, group maintenance tasks by geography so each route day includes one machine's deeper quarterly service; our guide to restock scheduling and routes shows how to build that rhythm into a route plan.
Cleaning, Sanitizing and Food Safety
Clean first, then sanitize or disinfect the surfaces people touch, and use products approved for food-contact areas wherever product or packaging rests. The CDC explains that cleaning with soap or detergent lowers the number of germs on a surface, while disinfecting kills germs that remain after cleaning. A disinfectant only works if it stays wet on the surface for the contact time printed on its label, so a quick spray-and-wipe on a keypad often does less than operators assume.
Cleaning vs. sanitizing touch points
Selection buttons, touchscreens, the delivery door, coin return and bill entry are the high-touch areas on any machine, and the CDC notes that high-touch surfaces are more likely to spread germs. Wipe them on every visit, and more than once a day in high-traffic places such as transit hubs, hospitals and schools if your contract calls for it. Use an EPA-registered disinfectant that is safe for plastics and glass, apply it to a cloth rather than spraying into electronics, and let it dwell for the labeled time. Glass cleaner, a soft microfiber cloth and a non-abrasive pad handle the exterior without scratching acrylic or touchscreen coatings.
Inside the cabinet, remove crumbs and spills from trays, spirals and the delivery bin with a vacuum or brush before wiping. Spilled soda and melted chocolate leave sticky films that make products hang on the spiral, so dealing with residue is a mechanical fix as much as a hygiene one. Keep cleaning chemicals away from the control board and payment hardware; electronics need dry cleaning, a lightly dampened cloth or the manufacturer's approved cleaning cards.
Refrigerated, fresh and frozen products
FoodSafety.gov advises keeping refrigerated food at 40°F (4°C) or below and frozen food at 0°F (-18°C) or below, and those benchmarks are the right targets for fresh-food and frozen machines. Check the cabinet temperature on every visit with a separate probe thermometer, not just the display, because sensors drift and doors left ajar warm the cabinet faster than the controller reports. If a fresh-food machine has been running warm for an unknown length of time, discard the perishable stock rather than guessing; local health departments set the rules for vended food, so confirm their requirements before you load sandwiches, salads or dairy.
Stock rotation is part of hygiene. Load new product behind older product, pull anything past its date and check packaging for damage or pest activity. Machines with glass fronts also deserve a quick visual check of the product itself, since a faded or crushed package suggests heat or handling problems that a temperature log might miss. A short note on the machine telling customers how to report a problem, through a QR code or a phone number, gives you an early warning without waiting for the next scheduled visit.
Fresh food rule of thumb: if you cannot prove the cabinet stayed at 40°F or below since your last visit, treat the perishable stock as unsafe. Temperature alarms from a connected machine give you that proof without opening the door.
Refrigeration and Condenser Coil Care
Clean the condenser coil about every three months, or sooner in dusty or greasy locations, because a coated coil forces the compressor to run longer and hotter. Industry maintenance guides agree on that quarterly rhythm and recommend a soft brush or compressed air to clear the fins. Unplug the machine first, brush in the direction of the fins so you do not bend them, and clear dust from the condenser fan blades and the floor area behind the machine, where intake air is drawn in.
Airflow around the cabinet matters as much as a clean coil. Keep the manufacturer's recommended clearance from the wall, never block rear or bottom vents with boxes or signage, and level the machine so doors seal evenly. A torn or flattened door gasket lets warm, humid air in all day; the symptoms are frost on the evaporator, condensation on product and a compressor that rarely shuts off. Close a dollar bill in the door at several points along the seal: if it slides out with no drag, the gasket needs attention.
Efficient refrigeration also lowers your power bill. ENERGY STAR reports that certified refrigerated beverage vending machines are on average 9% more efficient than standard models, saving about 1,000 kWh a year, using more efficient compressors, fan motors and lighting plus a low-power mode for idle periods. Its specification also lists lower global-warming-potential refrigerants such as R-290. If you run drink vending machines, check that the low-power or lighting schedule is actually enabled after a firmware update or controller reset, because settings sometimes revert to factory defaults.
Know where your own work stops. Cleaning coils, replacing a fan motor or a door gasket and recalibrating a thermostat are routine operator tasks. Opening the sealed refrigerant circuit is not: EPA's Section 608 program requires certification for technicians who maintain, service, repair or dispose of equipment that could release ozone-depleting refrigerants. Read our explainer on R290 refrigerant before any sealed-system work, then hand compressor or leak repairs to a qualified refrigeration technician.
Payment System and Telemetry Checks
Payment hardware deserves a check on every visit because a machine that cannot take money cannot sell, even when every spiral is full. Cantaloupe's 2026 Micropayment Trends Report puts the cashless share of vending sales at 78% in 2025, with card and mobile-wallet buyers spending an average of $2.45 per transaction against $1.57 for cash. A dead card reader therefore removes most of a machine's revenue, not a slice of it.
Bill validators and coin mechanisms
Bill validators fail gradually: dirty sensors and belts reject more worn notes until customers give up. Clean the bill path and sensors monthly with the manufacturer's cleaning cards or a lint-free cloth, check that the stacker is not overfilled, and test with a few older bills. Coin mechanisms jam from bent coins, debris and sticky residue, so clear the acceptor path, check that tubes are not overfilled and confirm the machine pays correct change. Never use lubricants on payment sensors unless the manufacturer specifies them.
Card readers and connectivity
For card readers, confirm the reader shows a ready state, the antenna and cellular or network connection are working and the firmware is current. Most reader faults turn out to be connectivity, power or configuration issues rather than hardware failure, so a restart and a signal check come before a replacement. If you are adding or replacing a reader, check card reader compatibility with your machine's controller first, and compare options in our guide to the best card readers for vending machines. Models in our card reader vending machines range come equipped with a credit card reader for contactless payment.
Telemetry turns maintenance from scheduled to predictive
Remote monitoring tells you about a fault when it happens instead of when a customer complains. VMFS Cloud works with every VMFS machine; plans start at $7.99 per machine per month. It sends alarms for jams, offline status, malfunctions, an open door, temperature out of range, a payment reader that is down and low stock, each with a threshold you set and routed by SMS, email or dashboard to the person who should act. Comparing what was loaded against what sold also exposes jams, mis-loads and shrinkage without a site visit. That data lets you send a technician with the right part on the first trip, and it fills your maintenance log automatically. Older machines can report sales and errors through a DEX harness connected to a compatible telemetry device.
Common Vending Machine Faults and First Fixes
Most service calls trace back to a handful of faults: product jams, payment rejections, warm cabinets, dead displays and power problems, and many can be cleared on site in minutes. The table gives the likely cause and the first fix to try before calling for help. For step-by-step troubleshooting by symptom, see our full guide to common vending machine issues and fixes.
| Symptom | Likely cause | First fix | Escalate when |
|---|---|---|---|
| Product hangs on spiral | Wrong spiral pitch for product, overloading, bent coil | Reload correctly, match product to coil size, straighten or swap the coil | Same lane fails after reload |
| Lane does not turn | Failed vend motor, loose harness connector | Reseat connector, run motor test from service menu | Motor test fails: replace the motor |
| Bills rejected | Dirty sensors or belts, full stacker | Clean bill path, empty stacker, test several bills | Rejection continues after cleaning |
| Coins return or jam | Debris, bent coins, overfilled tubes | Clear acceptor path, check tube levels | Mechanism will not accept any coin |
| Card reader offline | Weak signal, power, configuration | Restart reader, check signal and settings | Reader fails after restart and signal check |
| Cabinet warm | Dirty coil, blocked airflow, gasket leak, door ajar | Clean coil, clear vents, check gasket and door | Compressor runs constantly or will not start |
| Blank display or freeze | Power interruption, software glitch | Power cycle, check outlet and cord | Board shows no power or faults repeat |
| Machine trips breaker | Shared circuit, damaged cord, failing component | Move to a dedicated outlet, inspect cord | Trips on a dedicated circuit |
Two habits stop most repeat faults. First, read the error code before you clear it, because the code tells you which subsystem failed and it belongs in the log. Second, fix the cause rather than the symptom: a jam cleared without changing the product, coil or loading method will return on the next busy day. Reduce power-related faults with a surge protector rated for the machine and a dedicated circuit, and never run a vending machine from an extension cord, which the VMFS warranty policy specifically excludes.
Need a replacement part fast?
Tell us what is not working and our team confirms the right part for your model before it ships.
Find Vending Machine PartsThe Vending Machine Maintenance Tool Kit
A basic kit of hand tools, a multimeter, cleaning supplies, safe lubricants and a few common spare parts lets one person handle most routine maintenance on the spot. Keep it in a sturdy case in the service vehicle, organized so the tools you use on every visit sit on top. Customize it to the machines on your route; the screws, keys and spare parts for a spiral snack machine differ from those for an elevator model.
Hand tools
Phillips and flat screwdrivers with magnetic tips, a nut driver set, adjustable wrench, needle-nose and locking pliers, and a flashlight or headlamp for the back of the cabinet.
Multimeter
Checks outlet voltage, continuity and motor circuits so you can tell a dead component from a loose connection before ordering parts.
Cleaning supplies
Microfiber cloths, glass cleaner, EPA-registered disinfectant safe for plastics, soft coil brush, small vacuum, and bill validator cleaning cards.
Lubricants
Food-grade lubricant for parts near product and the manufacturer's specified lubricant for mechanical parts; never lubricate payment sensors.
Thermometer and test tools
A probe thermometer to verify cabinet temperature, plus a few test coins and bills for checking acceptors after cleaning.
Safety gear
Cut-resistant gloves for sheet-metal edges, safety glasses for coil cleaning, and nitrile gloves for chemicals and food areas.
Common spares
A spare vend motor, spirals in your common pitches, fuses, keys and a lock cylinder: the parts that most often take a lane or machine out of service.
Records and software
Machine manuals and wiring diagrams on your phone, the telemetry app, and a log template so every visit is recorded the same way.
A cordless drill-driver with a clutch speeds up panel and shelf work, but set the clutch low so you do not strip screws in plastic parts. Label keys by machine, because time spent finding the right key adds up across a route. When a part is designed for swap-out without special tools, operators can often replace it during a normal visit; our guide to hot-swappable parts explains which components fall into that group.
Safe Servicing: Power, Lockout and Protection
Unplug the machine and keep the plug under your control before you reach into any electrical or moving part. That simple step is the core of OSHA's lockout/tagout standard for cord-and-plug equipment: 29 CFR 1910.147 covers servicing where unexpected start-up or stored energy could injure someone, and work on cord-and-plug equipment falls outside its full lockout procedure only when unplugging controls the hazard and the plug stays under the exclusive control of the person doing the work. If someone else could plug the machine back in while you are inside it, you are not in control of the plug.
Vending machines are heavy and top-heavy when the door is open, so never rock or tip a machine to retrieve a stuck product or to clean behind it; use a dolly and a second person for moves. Wear cut-resistant gloves around shelf edges and spiral ends, safety glasses when brushing coils or using compressed air, and gloves when handling chemicals. Check the power cord and plug for damage on each monthly inspection, and replace anything frayed or scorched rather than taping it. Employers with route staff should train them on these procedures and keep the training on record.
Security is part of safe operation too. Machines in well-lit, visible spots suffer less vandalism, and robust locks with controlled key copies limit unauthorized access. If you place equipment outside, choose purpose-built outdoor vending machines, since using an indoor model outdoors voids the VMFS warranty, and review our outdoor vending machine security guide. Vandalism and theft are excluded from equipment warranties, so check that your vending machine insurance policy covers them.
How Much Does Vending Machine Maintenance Cost?
Most operators budget roughly $200 to $600 per machine per year for repairs and parts on snack and drink machines, with combo and refrigerated equipment toward the top of that range. Independent repair-cost guides that we reviewed converge on these figures, and they also agree that a technician visit typically starts with a service call fee of about $75 to $150 before parts. Your own spend depends heavily on machine age, location conditions and how consistently the routine maintenance above gets done.
| Item | Typical cost range | Notes |
|---|---|---|
| Technician service call | $75 to $150 per visit | Often includes diagnosis; labor billed on top at roughly $50 to $150 per hour depending on provider |
| Vend motor (part) | $15 to $80 | Usually an operator swap |
| Bill validator replacement | $150 to $400 | Refurbished units cost less; cleaning often avoids replacement |
| Coin mechanism replacement | $100 to $300 | Cleaning and adjustment fix many coin faults |
| Control board | $150 to $800 | OEM boards sit at the high end |
| Compressor replacement, installed | $400 to $1,000 or more | Sealed-system work by a certified technician; can trigger a repair-or-replace decision |
| Annual repairs and parts per machine | $200 to $600 | Snack lower, refrigerated and combo higher; older machines cost more |
The biggest swing factor is refrigeration. A snack machine with no compressor has fewer expensive failure points, while a drink or fresh-food machine carries the risk of a compressor or sealed-system repair that can approach the value of an older machine. That is why coil cleaning and gasket care, which cost almost nothing, protect the most expensive component you own. Payment hardware is the next largest line, which is why monthly validator cleaning beats buying new units.
Labor is the other variable. If you do the routine work yourself, your cost is mostly parts and time, and many common components are designed to be replaced by operators. If you rely on a service company, the call-out fee and travel make a single small fix expensive, so it pays to batch non-urgent jobs into one visit. Budget a reserve per machine each month rather than treating repairs as surprises, and compare annual repair spend against revenue for each machine in your log: when one unit consistently costs more than it earns, relocation or replacement is a better use of money than another repair. For equipment that fits a heavy-use site, our combo vending machines combine snacks and drinks in one refrigerated cabinet so you service one machine instead of two.
Budget shortcut: set aside a fixed monthly maintenance reserve per machine, log every repair against it, and review the totals each quarter. The machines that overspend their reserve are the ones to inspect, relocate or replace first.
DIY Maintenance vs. Hiring a Vending Technician
Do the routine cleaning, stocking, inspections and simple part swaps yourself, and bring in a technician for refrigeration sealed-system work, electrical faults beyond the plug and outlet, and repairs you cannot diagnose with the manual and a multimeter. This split keeps your costs low on the frequent, simple jobs and keeps you out of work that needs certification or specialist test equipment.
Doing it yourself
- No call-out fees for frequent small jobs
- Faults fixed on the next route visit
- You learn each machine's weak points
- Telemetry and logs make remote diagnosis easier
Limits of DIY
- Sealed refrigerant work requires a certified technician
- Misdiagnosis can mean buying the wrong part
- Repairs by non-authorized parties may affect warranty coverage
- Your time on repairs is time not spent growing the route
Vending technicians are a distinct trade. O*NET, the US Department of Labor's occupational database, lists coin, vending and amusement machine servicers and repairers at a 2025 median wage of $22.81 per hour, and their listed tasks include cleaning and oiling machine parts, adjusting thermostats, replacing defective parts and maintaining repair records. Service companies bill well above that wage because the fee also covers travel, vehicles, insurance and parts stock. If you plan to hire, our article on vending machine repair jobs covers what technicians do and earn.
When choosing a service provider, look for experience with your machine brands and payment systems, clear response times, written pricing for call-outs and labor, and willingness to work from your telemetry data and error codes. A provider who reads the fault history before arriving fixes more on the first visit. Keep receipts and notes from every outside repair in your log, since warranty claims and resale buyers will both ask for them.
Warranty, Replacement Parts and Spares
Every VMFS USA vending machine includes a standard 1-year parts warranty, with extended 2-year ($250) and 3-year ($400) options available at purchase on many models; the exact term for a specific product is stated on its product page. The VMFS warranty covers manufacturing defects, ships replacement parts within the continental US during the warranty period and includes remote diagnostics and help with software and VMFS Cloud setup.
Read the limits as carefully as the coverage. The official warranty policy states that, unless written otherwise, the warranty covers replacement parts only, not on-site technician labor, travel, downtime or lost revenue. It excludes damage from power surges, extension cords, water exposure, vandalism, unauthorized modification, overloaded trays and lack of maintenance, and it treats wear items such as spiral motors, elevator belts, payment readers, bill validators, door locks and fuses as normal-operation replacements. Using an indoor model outdoors voids coverage. To file a claim you will need the serial number, proof of purchase, clear photos or video, any error codes and a description of operating conditions, which is one more reason to keep the log described above. Our RMA request form handles repair, replacement and return requests, and the team typically responds within one business day with an RMA number and next steps.
After the warranty ends, VMFS offers paid Remote Support Plans and optional annual service checkups that include preventive maintenance, internal inspection and software updates. Certified replacement parts remain available at any time through our vending machine parts and service team, which confirms model compatibility and whether a part is user-replaceable before you order; most orders ship within 1 to 2 business days, and installation help is available by phone, chat or screen share.
Keep a small stock of the parts that take machines out of service most often. A spare vend motor and a few spirals cover the commonest lane failures, while a main control board is worth holding only if you run several identical machines. Browse the full parts and accessories range, including product trays, display boards and coil couplers, and size your spares inventory to your fleet: one spare of each fast-failing part per model type is a sensible starting point, growing as your repair history shows which parts you actually use.
Catch faults before your customers do
VMFS Cloud sends jam, temperature, door and payment alerts to your phone and builds your service history automatically.
Explore VMFS CloudFrequently Asked Questions
Sources
- CDC: When and How to Clean and Disinfect a Facility
- FoodSafety.gov: Cold Food Storage Chart
- OSHA: 29 CFR 1910.147, The Control of Hazardous Energy (Lockout/Tagout)
- US EPA: Section 608 Technician Certification
- ENERGY STAR: Vending Machines
- O*NET OnLine: Coin, Vending, and Amusement Machine Servicers and Repairers (49-9091.00)
- Cantaloupe: 5 Numbers From the 2026 Micropayment Trends Report
- Wendor: Vending Machine Repair Costs
- VendBuddy: Vending Machine Repair Costs
- VendingCore: How Much Does It Cost to Maintain a Vending Machine?
- VendNet: Best Practices to Reduce Vending Machine Repair Needs
Share:
Custom Vending Bundles: How to Increase Sales with Personalized Picks
Weed Vending Machines: Cannabis Vending Machine Business Guide