


La mayoría de los compradores tienen una pregunta antes de comprometerse: ¿qué sucede realmente después de hacer un pedido?
El proceso de desarrollo de una máquina expendedora personalizada no es un evento único. Es una secuencia estructurada de etapas —cada una construida sobre la anterior— que toma los requisitos de su producto, la identidad de su marca y las necesidades operativas y los convierte en una máquina lista para implementar.
Esta guía recorre cada etapa en orden. Al final, sabrá exactamente qué preparar, qué decisiones tomar en cada paso y cómo se ve un cronograma realista desde la primera conversación hasta la primera venta.
¿Cuánto tiempo se tarda en construir una máquina expendedora personalizada?
El cronograma depende de la complejidad de la construcción. Aquí hay una descripción general realista:
| Tipo de construcción | Tiempo estimado |
|---|---|
| Envoltura personalizada estándar + configuración básica | 3 - 5 semanas |
| Gabinete personalizado + pantalla táctil + software | 6 - 10 semanas |
| Construcción totalmente a medida con verificación de edad + nube | 10 - 16 semanas |
Estos son cronogramas de trabajo, no estimaciones en el mejor de los casos. Los retrasos casi siempre se remontan a una sola fuente: resúmenes incompletos al principio. Cuanto más claramente defina sus requisitos en el Paso 1, más fluidas serán todas las etapas siguientes.
Paso 1 - Defina sus requisitos
Este es el paso más importante de todo el proceso. Todo lo que sigue —tamaño del gabinete, configuración de estantes, especificaciones del software, hardware de pago— fluye de lo que defina aquí.
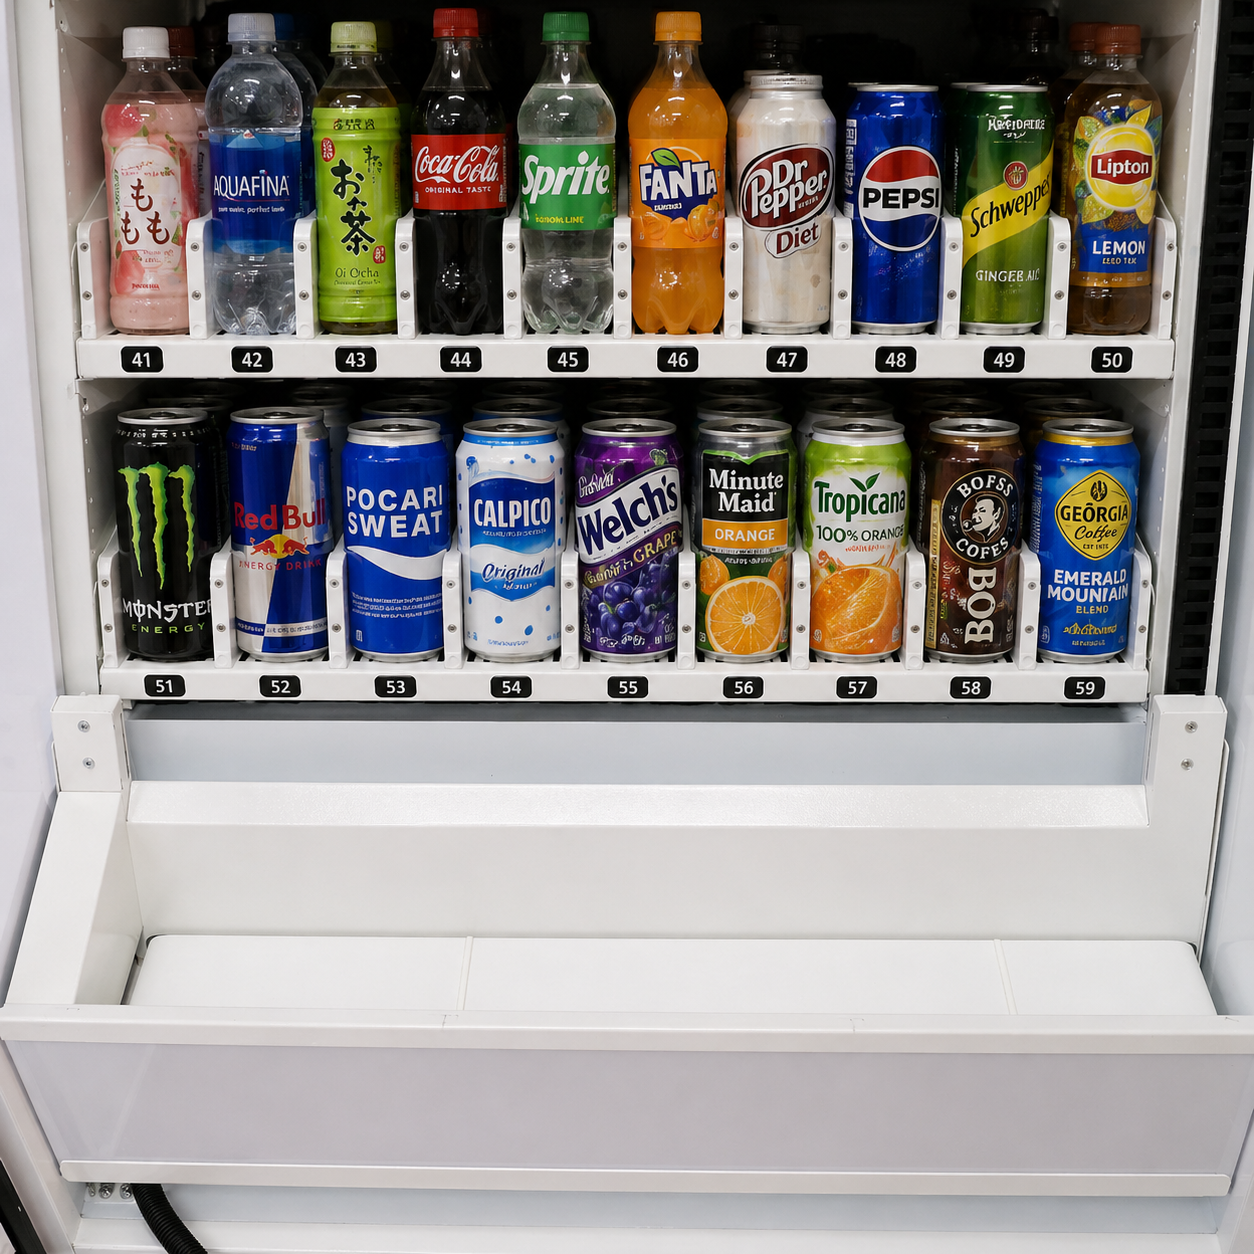
Tipo de producto y dimensiones físicas
Su producto determina su máquina. Antes de que comience cualquier trabajo de diseño, su fabricante necesita saber:
- Dimensiones del producto y peso por unidad
- Formato de embalaje (en caja, en bolsa, embotellado, doblado, suelto)
- Requisitos de almacenamiento (ambiente, refrigerado, congelado)
- Número de SKU que la máquina debe contener
- Volumen de ventas diario esperado por ubicación
Una máquina expendedora personalizada construida para paquetes de tarjetas coleccionables tiene una geometría interna completamente diferente a una construida para el cuidado de la piel refrigerado o ropa doblada. Acertar esto en la etapa de resumen evita reconfiguraciones costosas a mitad de la construcción.
Requisitos de ubicación y tráfico
Dónde se ubica la máquina afecta casi todas las decisiones de especificación. Preguntas clave para responder:
- ¿Ubicación interior o exterior?
- ¿Superficie disponible (ancho x profundidad)?
- ¿Tráfico peatonal diario estimado en la ubicación?
- ¿Fuente de alimentación disponible (voltaje, amperaje)?
- ¿Conectividad de red disponible para máquinas conectadas a la nube?
Si aún está finalizando las ubicaciones, vale la pena trabajar con un especialista en colocación antes de fijar las dimensiones del gabinete. Vplaced se especializa en la estrategia de colocación de máquinas expendedoras, analizando datos de tráfico peatonal, idoneidad de la ubicación y dinámica ambiental para que la especificación de su máquina coincida con las condiciones exactas en las que operará. Fijar la colocación antes de fijar la especificación del gabinete ahorra costosos ajustes posteriores.
Requisitos de marca y personalización
Prepare lo siguiente antes de su primera conversación con el fabricante:
- Documento de pautas de marca (archivos de logotipo, códigos de color, tipografía)
- Códigos Pantone para todos los colores de la marca
- Imágenes de referencia para la estética de la envoltura o la dirección de la interfaz de usuario de la pantalla
- Cualquier requisito reglamentario para su categoría de producto
Paso 2 - Elija su fabricante
No todos los fabricantes que ofrecen máquinas expendedoras personalizadas están construyendo realmente máquinas personalizadas. Muchos están aplicando envolturas básicas a gabinetes estándar y llamándolo personalizado. Conocer la diferencia es importante.
Qué distingue a los fabricantes personalizados genuinos
| Capacidad | Fabricante personalizado real | Operador solo de envoltura |
|---|---|---|
| Dimensiones del gabinete | Construido según sus especificaciones | Solo tamaños estándar fijos |
| Configuración interna | Configurado por producto | Diseño genérico de estantes |
| Software | Interfaz de usuario personalizada + integración en la nube | Firmware estándar |
| Sistemas de pago | Totalmente configurable | Solo lector de tarjetas estándar |
| Marca | Envoltura combinada con Pantone + interfaz de usuario de pantalla | Vinilo impreso |
Preguntas que debe hacer antes de firmar
- ¿Puede mostrar ejemplos de construcciones anteriores para mi categoría de producto?
- ¿Cuál es su proceso de control de calidad antes de la entrega?
- ¿Qué cubre el soporte post-entrega y por cuánto tiempo?
- ¿Ofrecen conectividad a la nube y monitoreo remoto como estándar o como complemento?
- ¿Cuál es su proceso si se desarrolla una falla de hardware dentro de los primeros 90 días?
Un fabricante que no puede responder a esto claramente es uno que debe seguir investigando antes de comprometerse.
Fabricación en EE. UU. vs. en el extranjero
Ambas opciones existen. Las compensaciones son reales:
| Factor | Con sede en EE. UU. | En el extranjero |
|---|---|---|
| Plazo de entrega | Más corto | Más largo (envío + aduanas) |
| Comunicación | Directa, misma zona horaria | Requiere una gestión cuidadosa |
| Control de calidad | Más fácil de supervisar | Más difícil de verificar de forma remota |
| Costo unitario | Más alto | Más bajo |
| Soporte postventa | Respuesta más rápida | Variable |
Para compradores primerizos o aquellos que construyen máquinas críticas para la marca, la fabricación en EE. UU. generalmente ofrece una mejor rendición de cuentas y una resolución más rápida cuando surgen problemas.
Paso 3 - Fase de diseño
Una vez que se han establecido los requisitos y se ha seleccionado un fabricante, comienza la fase de diseño. Esto cubre dos flujos de trabajo paralelos: diseño visual exterior y diseño de software/UI.
Diseño de envoltura exterior y marca
Su fabricante o su socio de diseño producirá el arte de la envoltura basándose en sus pautas de marca. El proceso típicamente se ve así:
- El fabricante proporciona los archivos de plantilla del gabinete (dimensiones exactas por superficie)
- El equipo de diseño produce el concepto inicial de la envoltura basado en su resumen
- Usted revisa y proporciona comentarios, generalmente dos o tres rondas de revisión
- Arte final aprobado y enviado a producción de impresión
- Prueba física revisada antes de la producción completa
La coincidencia de color Pantone se aplica en la etapa de producción de impresión. Si sus pautas de marca incluyen códigos Pantone (y deberían hacerlo), proporciónelos al inicio del resumen de diseño, no en la etapa de aprobación. Cambiar las especificaciones de color después de la aprobación del arte aumenta el tiempo y el costo.
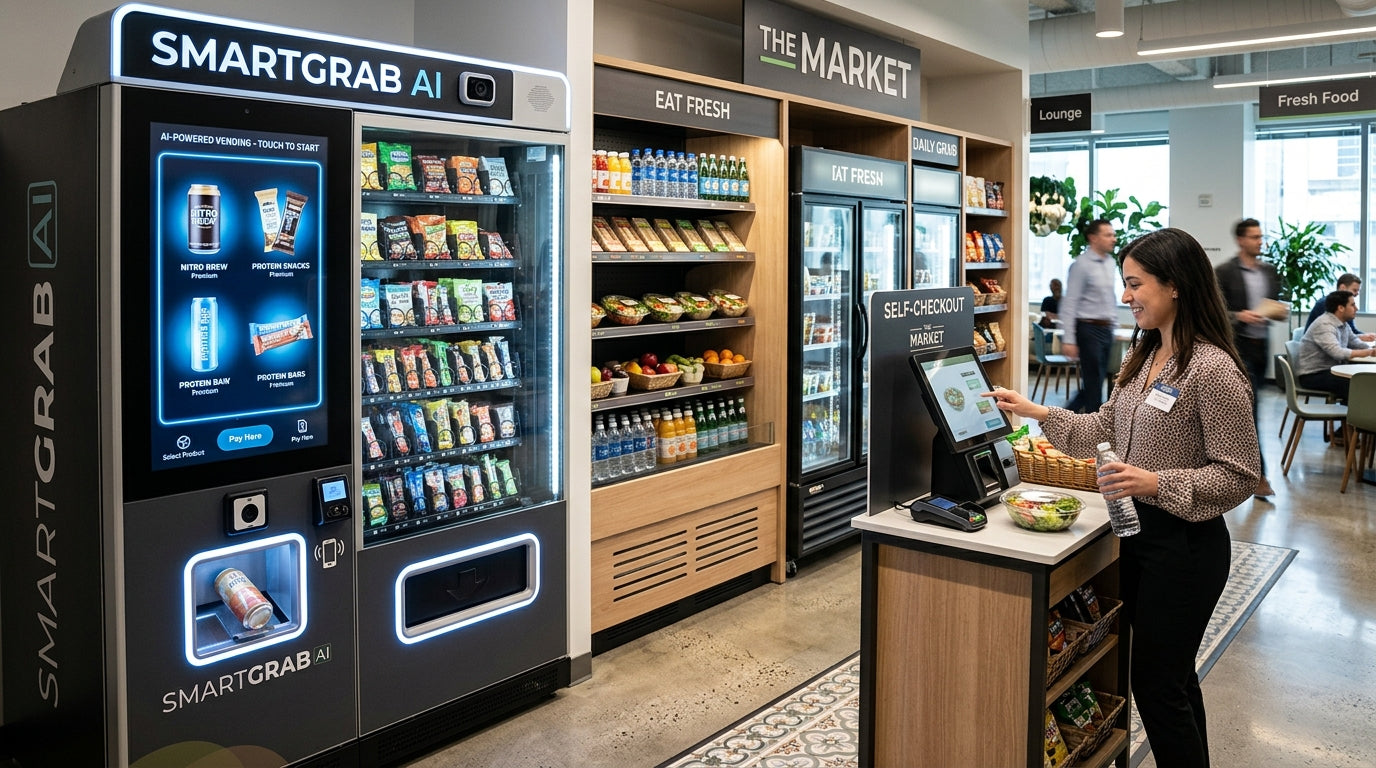
Diseño de UI de pantalla y software
Para las máquinas expendedoras personalizadas habilitadas para pantalla táctil, la interfaz de la pantalla se diseña como un flujo de trabajo separado. Esto cubre:
- Flujo de navegación (cómo los clientes navegan y seleccionan productos)
- Páginas de visualización de productos (imágenes, descripciones, precios)
- Pantallas de pago y finalización de compra
- Contenido de la marca que se muestra entre transacciones
- Mensajes de error y falta de existencias
Cada estado de pantalla es un punto de contacto de la marca. El diseño de la interfaz de usuario debe seguir las pautas de su marca tan de cerca como lo hace el diseño de la envoltura.
Paso 4 - Construcción e ingeniería
Con los diseños aprobados, comienza la construcción física. Esta etapa se ejecuta en paralelo en dos áreas.
Montaje de gabinete y hardware
El gabinete se construye según sus dimensiones especificadas. Se instalan y configuran los componentes internos:
- Disposición de estantes y columnas según las especificaciones del producto
- Mecanismo de dispensación calibrado según el peso y el embalaje del producto
- Unidad de refrigeración instalada si es necesario
- Hardware de pago montado y cableado
- Hardware de pantalla instalado y conectado
- Iluminación LED instalada
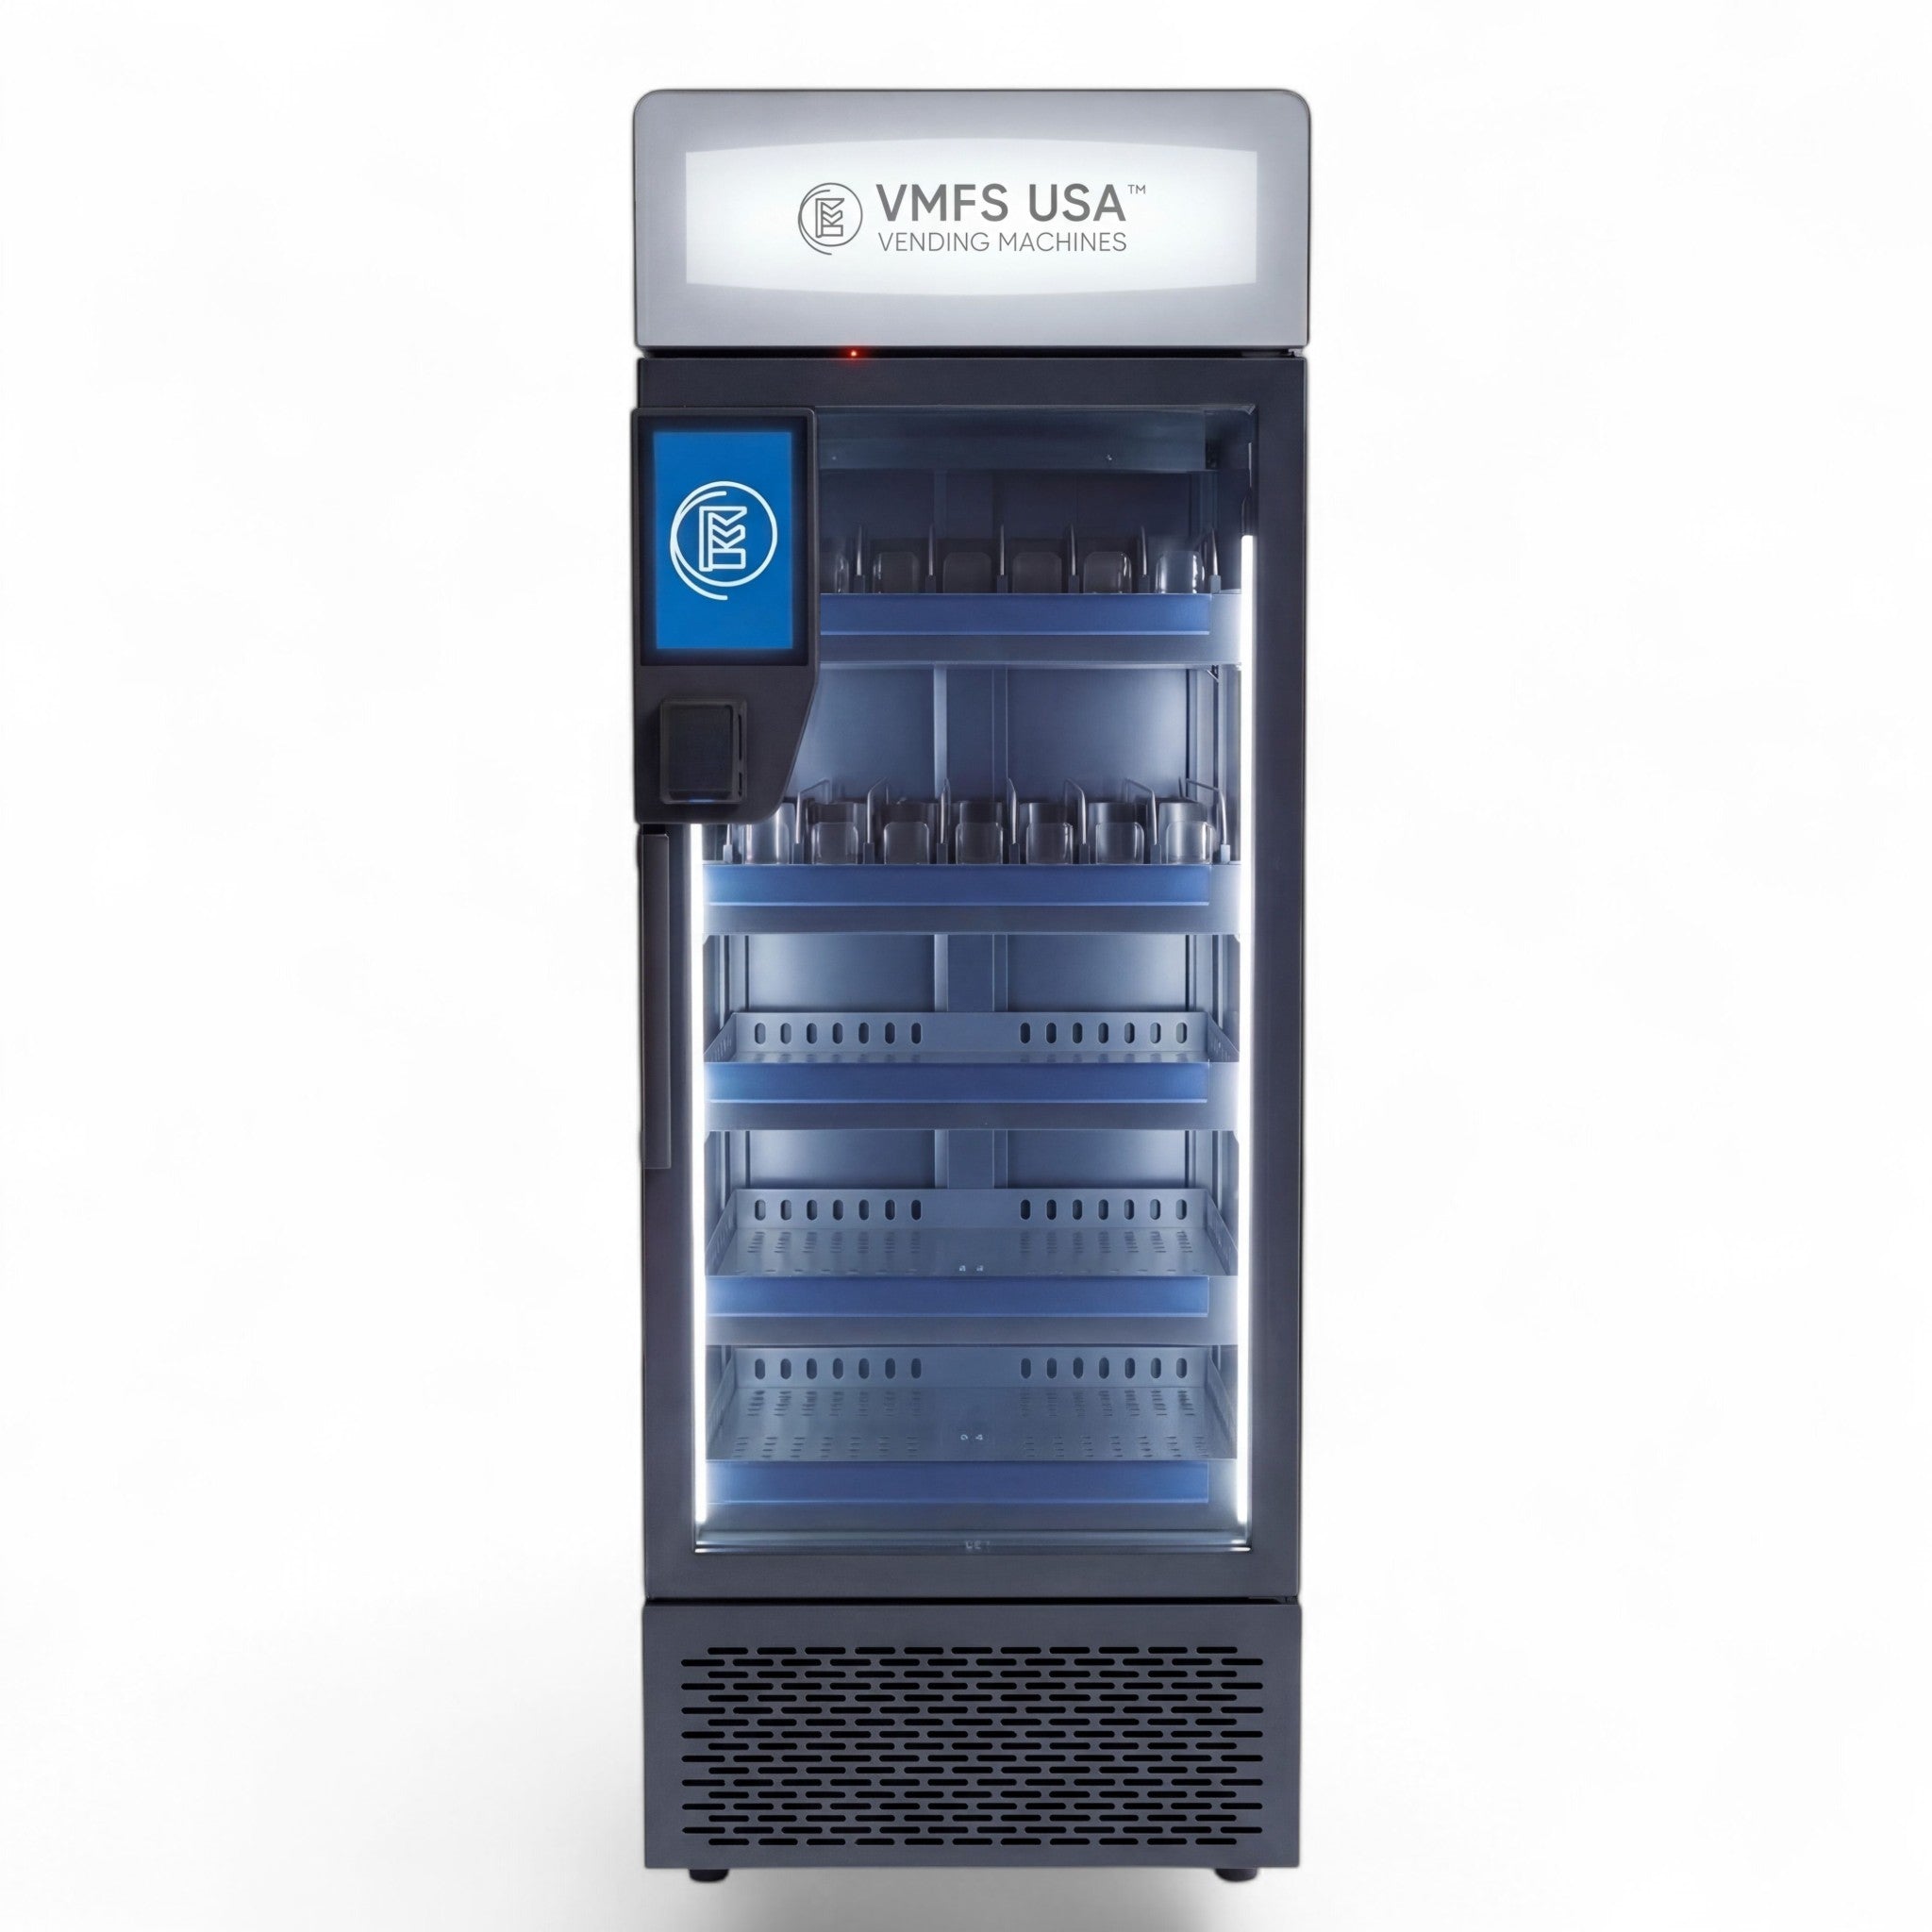
Para las máquinas expendedoras Seaga —una plataforma adecuada para la configuración personalizada en una amplia gama de categorías de productos— la construcción del hardware sigue el marco de ingeniería establecido de Seaga, con componentes personalizados integrados en las etapas apropiadas de montaje.
Integración y configuración de software
El software se instala y configura en paralelo con la construcción física:
- Interfaz de usuario personalizada cargada y probada en el hardware de la pantalla
- Procesador de pagos integrado y probado en todos los métodos de pago
- Conectividad a la nube configurada y probada
- Sistema de verificación de edad integrado si es necesario
- Panel de control de monitoreo remoto configurado para su cuenta
La conectividad a la nube en esta etapa es lo que permite a VMFS Cloud vincular su máquina a la plataforma de monitoreo remoto desde el momento en que se enciende en su ubicación. Los datos de ventas, los niveles de existencias, el estado de salud de la máquina y las alertas operativas están activos desde el primer día, sin necesidad de configuración separada por su parte.
Paso 5 - Prueba y aprobación de calidad
Antes de que la máquina salga de las instalaciones, pasa por un proceso de control de calidad estructurado. Esto no es negociable para ningún fabricante serio y debe confirmarse como parte de su contrato.
Qué cubre las pruebas de control de calidad
- Pruebas de venta: Cada columna dispensada varias veces para confirmar la fiabilidad del mecanismo
- Pruebas de pago: Todos los métodos de pago procesados a través de ciclos de transacción completos
- Pruebas de pantalla: Todos los estados de la interfaz de usuario verificados a lo largo de todo el recorrido del cliente
- Pruebas de conexión a la nube: Panel de control remoto confirmado en vivo con datos de transacciones reales
- Pruebas de temperatura: Unidades refrigeradas mantenidas a la temperatura objetivo en condiciones de carga
- Inspección de envoltura: Verificación visual de alineación, calidad de impresión y precisión de color
Debe recibir un documento de aprobación de control de calidad que confirme que cada prueba se completó antes de que se autorice el envío. Si su fabricante no ofrece esto, solicítelo explícitamente.
Paso 6 - Entrega, instalación y configuración
La logística de entrega varía según el tamaño del gabinete y el tipo de ubicación. Consideraciones clave en esta etapa:
- Confirmar los requisitos de acceso al sitio (anchura de puertas, disponibilidad de ascensores, carga del suelo)
- Asegurarse de que el suministro eléctrico en la ubicación coincida con las especificaciones de la máquina
- Confirmar que la conectividad de red está disponible si la máquina lo requiere
- Tener un punto de contacto designado en el sitio para la entrega e instalación
La instalación suele incluir el posicionamiento físico, la nivelación, la conexión eléctrica, la conexión de red y una prueba de funcionamiento en el sitio. Confirme si su fabricante incluye la instalación en el costo del proyecto o la cotiza por separado.
Qué sucede después de la entrega
La máquina está en funcionamiento, pero la relación con su fabricante no termina con la entrega. Lo que debe esperar a continuación:
- Actualizaciones de software: Cambios de interfaz de usuario, actualizaciones de precios, contenido promocional, todo enviado de forma remota a través de la nube
- Monitoreo remoto: Datos operativos en vivo disponibles a través de su panel de control en todo momento
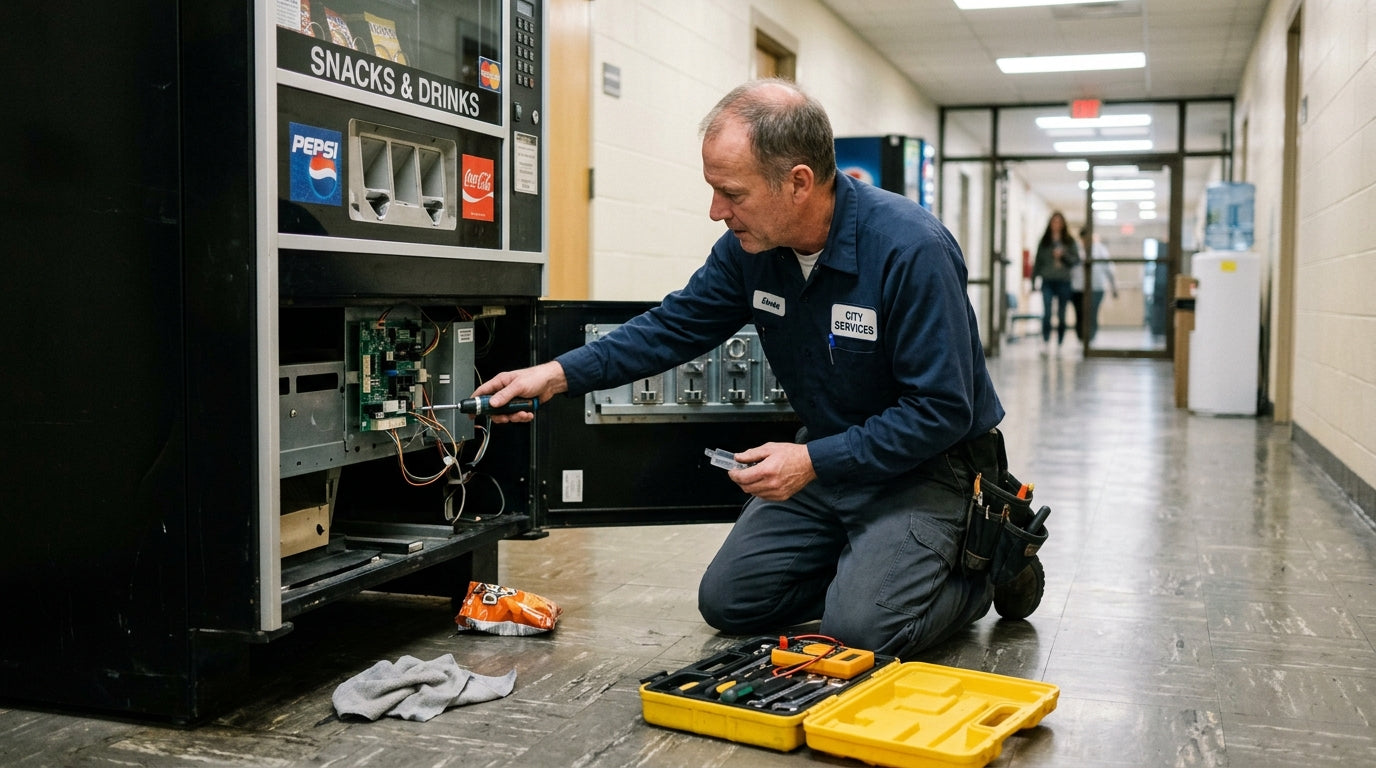
- Soporte de hardware: Ruta de escalada clara para problemas mecánicos o fallas de componentes
- Actualizaciones de envoltura: Archivos de plantilla conservados para futuras reimpresiones o actualizaciones estacionales
Para los operadores que planean escalar más allá de una sola máquina, aquí es donde la infraestructura operativa es más importante. Administrar diez o cincuenta máquinas expendedoras personalizadas sin monitoreo remoto basado en la nube significa una visita física cada vez que necesite datos operativos. Con él, toda su flota es visible desde un solo panel de control.
Si está evaluando el aspecto financiero de la construcción de una máquina personalizada, ya sea para comprender el costo total por nivel de especificación o para explorar cómo estructurar la inversión, la guía de precios de máquinas expendedoras personalizadas y las opciones de financiación flexible merecen ser revisadas antes de su decisión final de construcción.
Proceso de desarrollo de un vistazo
| Etapa | Salida clave | Quién lidera |
|---|---|---|
| 1. Definir requisitos | Documento de resumen completado | Usted + Fabricante |
| 2. Elegir fabricante | Contrato firmado | Usted |
| 3. Fase de diseño | Envoltura aprobada + arte de UI | Equipo de diseño + Su aprobación |
| 4. Construcción e ingeniería | Máquina ensamblada y configurada | Fabricante |
| 5. Pruebas de control de calidad | Documento de control de calidad firmado | Fabricante |
| 6. Entrega e instalación | Máquina en vivo en la ubicación | Fabricante + Usted |
| Continuo | Monitoreo remoto + soporte | Fabricante + VMFS Cloud |
Preguntas frecuentes
¿Puedo hacer cambios en el diseño una vez que ha comenzado la construcción?
Los cambios menores de software y de interfaz de usuario suelen ser posibles hasta la etapa de integración del software. Los cambios físicos (dimensiones del gabinete, configuración de los estantes, especificaciones del hardware) se vuelven muy costosos una vez que ha comenzado la fabricación. Bloquee su resumen por completo antes de que comience la producción.
¿Necesito involucrarme durante la construcción?
Sus principales puntos de participación son: aprobación del resumen, aprobación del diseño y entrega. Un buen fabricante gestiona las etapas de construcción de forma independiente y lo mantiene informado en los hitos clave. No debería necesitar gestionar el proceso de producción diario.
¿Qué pasa si mi máquina desarrolla una falla después de la entrega?
Confirme los términos de la garantía y los tiempos de respuesta del soporte antes de firmar su contrato. Las máquinas conectadas a la nube permiten el diagnóstico remoto de fallas, lo que significa que muchos problemas de software se pueden resolver sin una visita al sitio. Las fallas de hardware requieren un técnico de campo: confirme la ruta de escalada y el tiempo de respuesta objetivo en su acuerdo.
¿Puedo pedir una máquina o necesito una cantidad mínima?
Esto varía según el fabricante y la complejidad de la construcción. Algunos fabricantes trabajan en encargos personalizados de una sola unidad. Otros requieren tiradas mínimas para configuraciones específicas de gabinetes. Aclare esto en su primera conversación.
¿Cómo financio la construcción de una máquina expendedora personalizada?
Para las empresas que desean distribuir la inversión en plazos manejables en lugar de un pago inicial único, existen soluciones de financiación flexible disponibles que cubren la construcción de máquinas personalizadas, lo que le permite lanzar y generar ingresos con la máquina mientras gestiona el costo a lo largo del tiempo.
¿Por dónde debo empezar si soy nuevo en las máquinas expendedoras personalizadas?
La guía completa del comprador de máquinas expendedoras personalizadas cubre todo el proceso de toma de decisiones, desde comprender lo que realmente significa personalizar hasta la selección del fabricante y lo que debe esperar en cada etapa del proceso. Es el punto de partida correcto antes de comenzar a informar a los fabricantes.


Compartir:
¿Qué se puede personalizar realmente en una máquina expendedora? (Análisis completo)
ROI de las máquinas expendedoras personalizadas explicado: Números reales, ganancias reales