


Liquid error (sections/main-article-overlay line 139): comparison of String with 0 failed
Comenzar con fuerza es importante.
La mayoría de los fallos en las máquinas expendedoras no ocurren porque el modelo sea defectuoso.
Ocurren porque los primeros 90 días están desorganizados.
Esta hoja de ruta le indicará en qué debe centrarse, semana a semana.
Fase 1: Planificación y preparación (días 1 a 30)
Esta fase tiene como objetivo aclarar y configurar el proceso antes de poner en funcionamiento la máquina.
Semana 1: Creación de una empresa
- Forme su LLC (opcional pero recomendado)
- Registrarse para obtener un permiso de impuesto sobre las ventas
- Investigar los requisitos de permisos de venta locales
- Obtener cotizaciones de seguros
- Abrir una cuenta bancaria comercial
Objetivo: Estar legalmente preparado antes de la instalación.
Semana 2: Ubicación asegurada
- Identificar 1 o 2 ubicaciones fuertes
- Evaluar el tráfico y la población
- Confirmar la aprobación de la colocación
- Negociar la participación en los ingresos (si corresponde)
- Obtenga el acuerdo por escrito
Objetivo: Asegurar la ubicación antes de la llegada de la máquina.
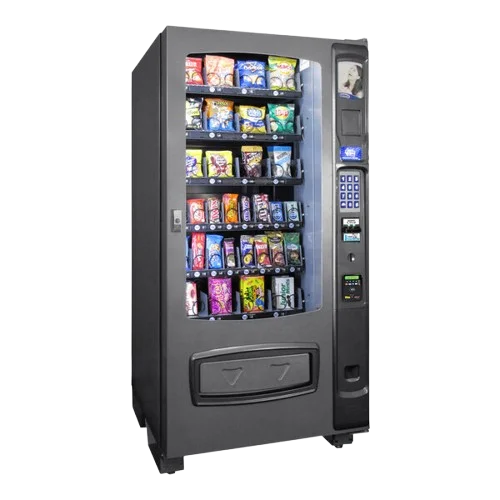
Semana 3: Configuración de la máquina
- Finalizar la selección de la máquina
- Elija el sistema de pago
- Confirmar conectividad (WiFi o celular)
- Decidir la estrategia del producto
- Planificar la lista de inventario
Objetivo: Tener un plan operativo claro antes de la entrega.
Semana 4: Envíos y logística
- Confirmar fecha de entrega
- Asegúrese de que haya servicio de portón trasero o guante blanco si es necesario
- Preparar el espacio de instalación
- Confirmar el acceso a la energía
- Revisar la lista de verificación de instalación
Objetivo: Entrega e instalación sin problemas.
Fase 2: Instalación y lanzamiento (días 30 a 45)
Ahora el negocio se vuelve real.
Día de la instalación
- Inspeccione la máquina para detectar daños.
- Nivelar y asegurar la máquina
- Conectarse a la energía
- Activar sistema de pago
- Conectarse a la monitorización en la nube
- Realizar prueba de venta
- Verificar la configuración de precios
Objetivo: Totalmente operativo antes del almacenamiento.
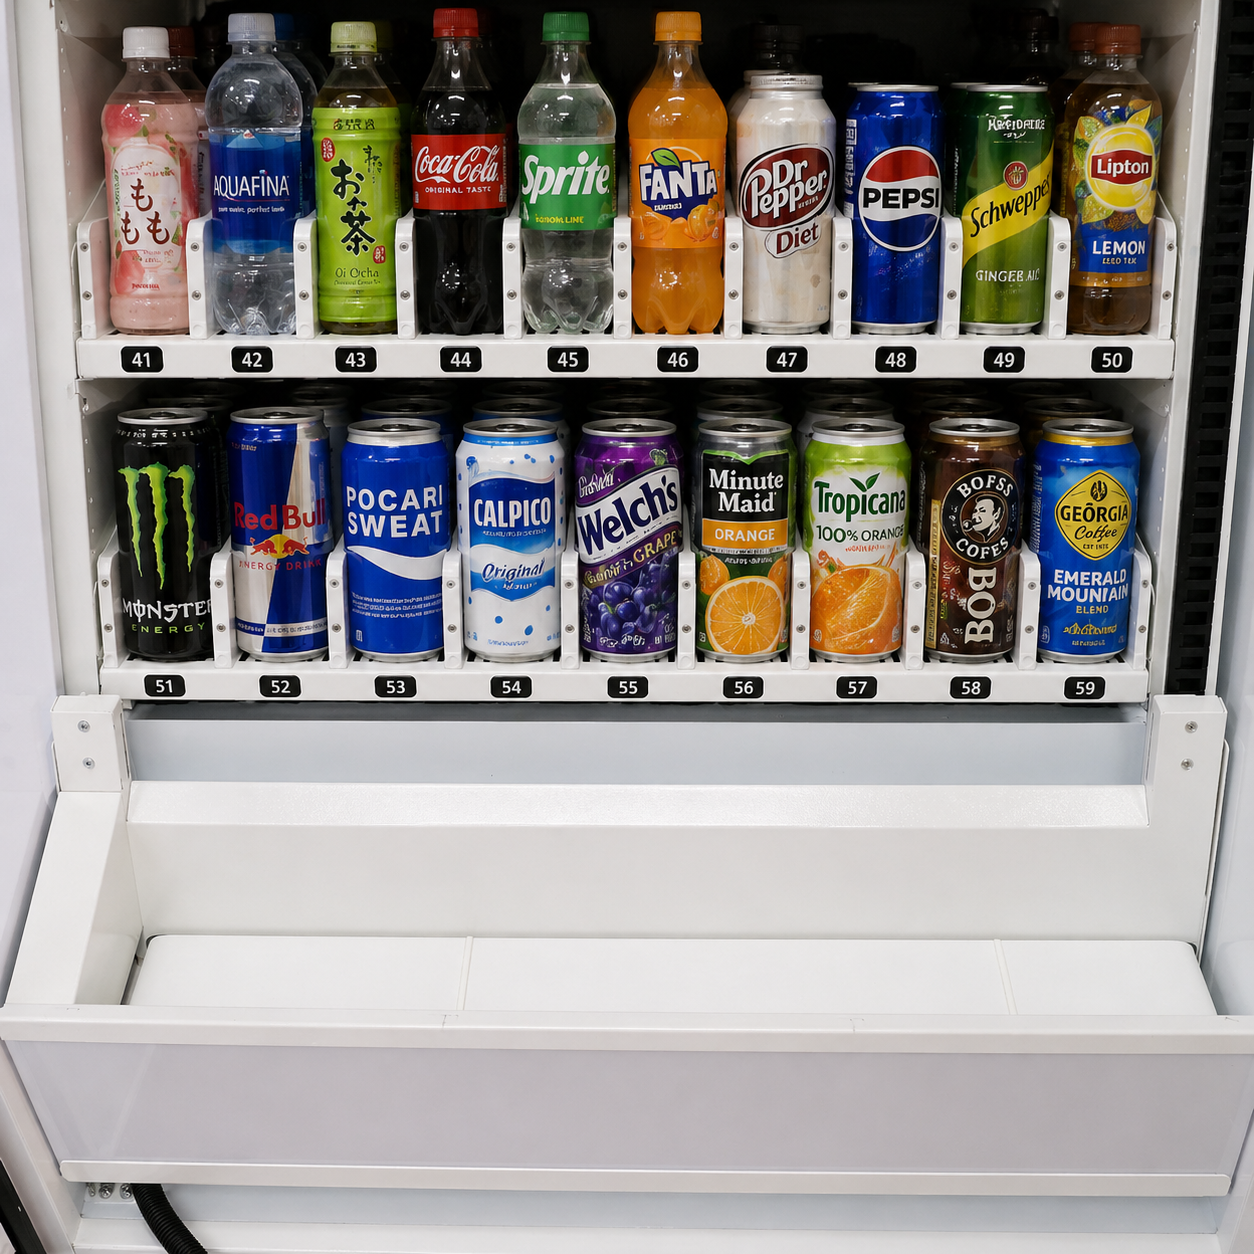
Media inicial
- Cargue primero los productos básicos básicos
- Añadir artículos de alto margen
- Llene los espacios experimentales
- Comprobar fechas de caducidad
- Confirmar la visibilidad de la pantalla
Objetivo: Mezcla de productos equilibrada desde el primer día.
Semana de lanzamiento
- Monitorizar las ventas diarias
- Verificar el procesamiento de pagos
- Verificar la precisión de los datos en la nube
- Reabastecer si es necesario
- Ajuste precios menores si es necesario
Objetivo: Garantizar un rendimiento inicial sin problemas.
Fase 3: Optimización y revisión de datos (días 45 a 75)
Aquí es donde muchos principiantes dejan de prestar atención.
No.
Rutina de revisión semanal
Cada semana:
- Consulta los 10 artículos más vendidos
- Identificar productos de movimiento lento
- Revisar el importe promedio de venta
- Monitorear el rendimiento sin efectivo
- Verificar la rotación del inventario
Objetivo: Permitir que los datos guíen las decisiones.
Primera rotación de producto (alrededor del día 60)
- Eliminar el 10-20% de los que tienen el rendimiento más bajo
- Aumentar las franjas horarias para vendedores rápidos
- Pruebe 2 o 3 productos nuevos
Objetivo: Mejorar la eficiencia.
Comentarios sobre la ubicación
Pregúntele al gerente de ubicación:
- ¿Están satisfechos los empleados?
- ¿Tiene alguna solicitud de producto?
- ¿Tiene alguna inquietud sobre el servicio?
Objetivo: Fortalecer la relación.
Fase 4: Estabilización y planificación (días 75 a 90)
Ahora deberías ver patrones.
Análisis de ingresos
Revisar:
- Ingresos brutos mensuales
- Costo del producto
- Tarifas de procesamiento
- Participación en los ingresos
- Beneficio neto
Comprenda sus números reales.
Evaluar el nivel de rendimiento
Después de 90 días, es probable que su máquina se encuentre en uno de tres niveles:
Nivel 1: menos de $700 al mes
Reevaluar la combinación de productos o la calidad de la ubicación.
Nivel 2: $800–$1,500/mes
Rendimiento moderado saludable.
Nivel 3 – $1,500+/mes
Ubicación sólida. Considere escalar.
Decidir el siguiente movimiento
Opciones:
- Mejorar la ubicación actual
- Añadir segunda máquina en el mismo edificio
- Comience a buscar la próxima colocación
- Reinvertir las ganancias en la expansión
El escalamiento funciona mejor cuando los sistemas son estables.
Errores comunes en los primeros 90 días
- Reacción exagerada a las primeras dos semanas de datos
- Sobrestock de productos de producción lenta
- Ignorar el seguimiento de los ingresos
- No revisar la máquina regularmente
- No lograr construir una relación con la ubicación
La consistencia gana.
Cómo se ve el éxito después de 90 días
Deberías tener:
- Mezcla de productos estable
- Patrón claro de ingresos
- Programa de reposición confiable
- Fuerte relación de ubicación
- Entendiendo sus márgenes
En este punto, la venta se vuelve predecible.
La previsibilidad conduce a la escala.


Compartir:
Lo que necesitas antes de colocar una máquina
Guía de precios del operador: Cómo establecer los precios de los productos