


Starting strong matters.
Most vending failures don’t happen because the model is flawed.
They happen because the first 90 days are disorganized.
This roadmap walks you through what to focus on — week by week.
Phase 1: Planning & Preparation (Days 1–30)
This phase is about clarity and setup before the machine goes live.
Week 1: Business Setup
- Form your LLC (optional but recommended)
- Register for sales tax permit
- Research local vending permit requirements
- Obtain insurance quotes
- Open a business bank account
Goal: Be legally ready before installation.
Week 2: Location Secured
- Identify 1–2 strong locations
- Evaluate traffic and population
- Confirm placement approval
- Negotiate revenue share (if applicable)
- Get agreement in writing
Goal: Secure the location before machine arrival.
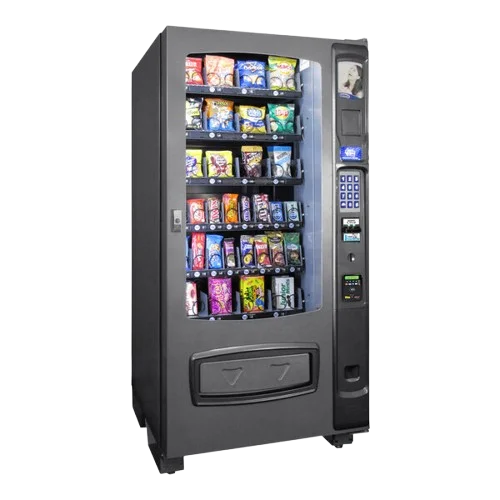
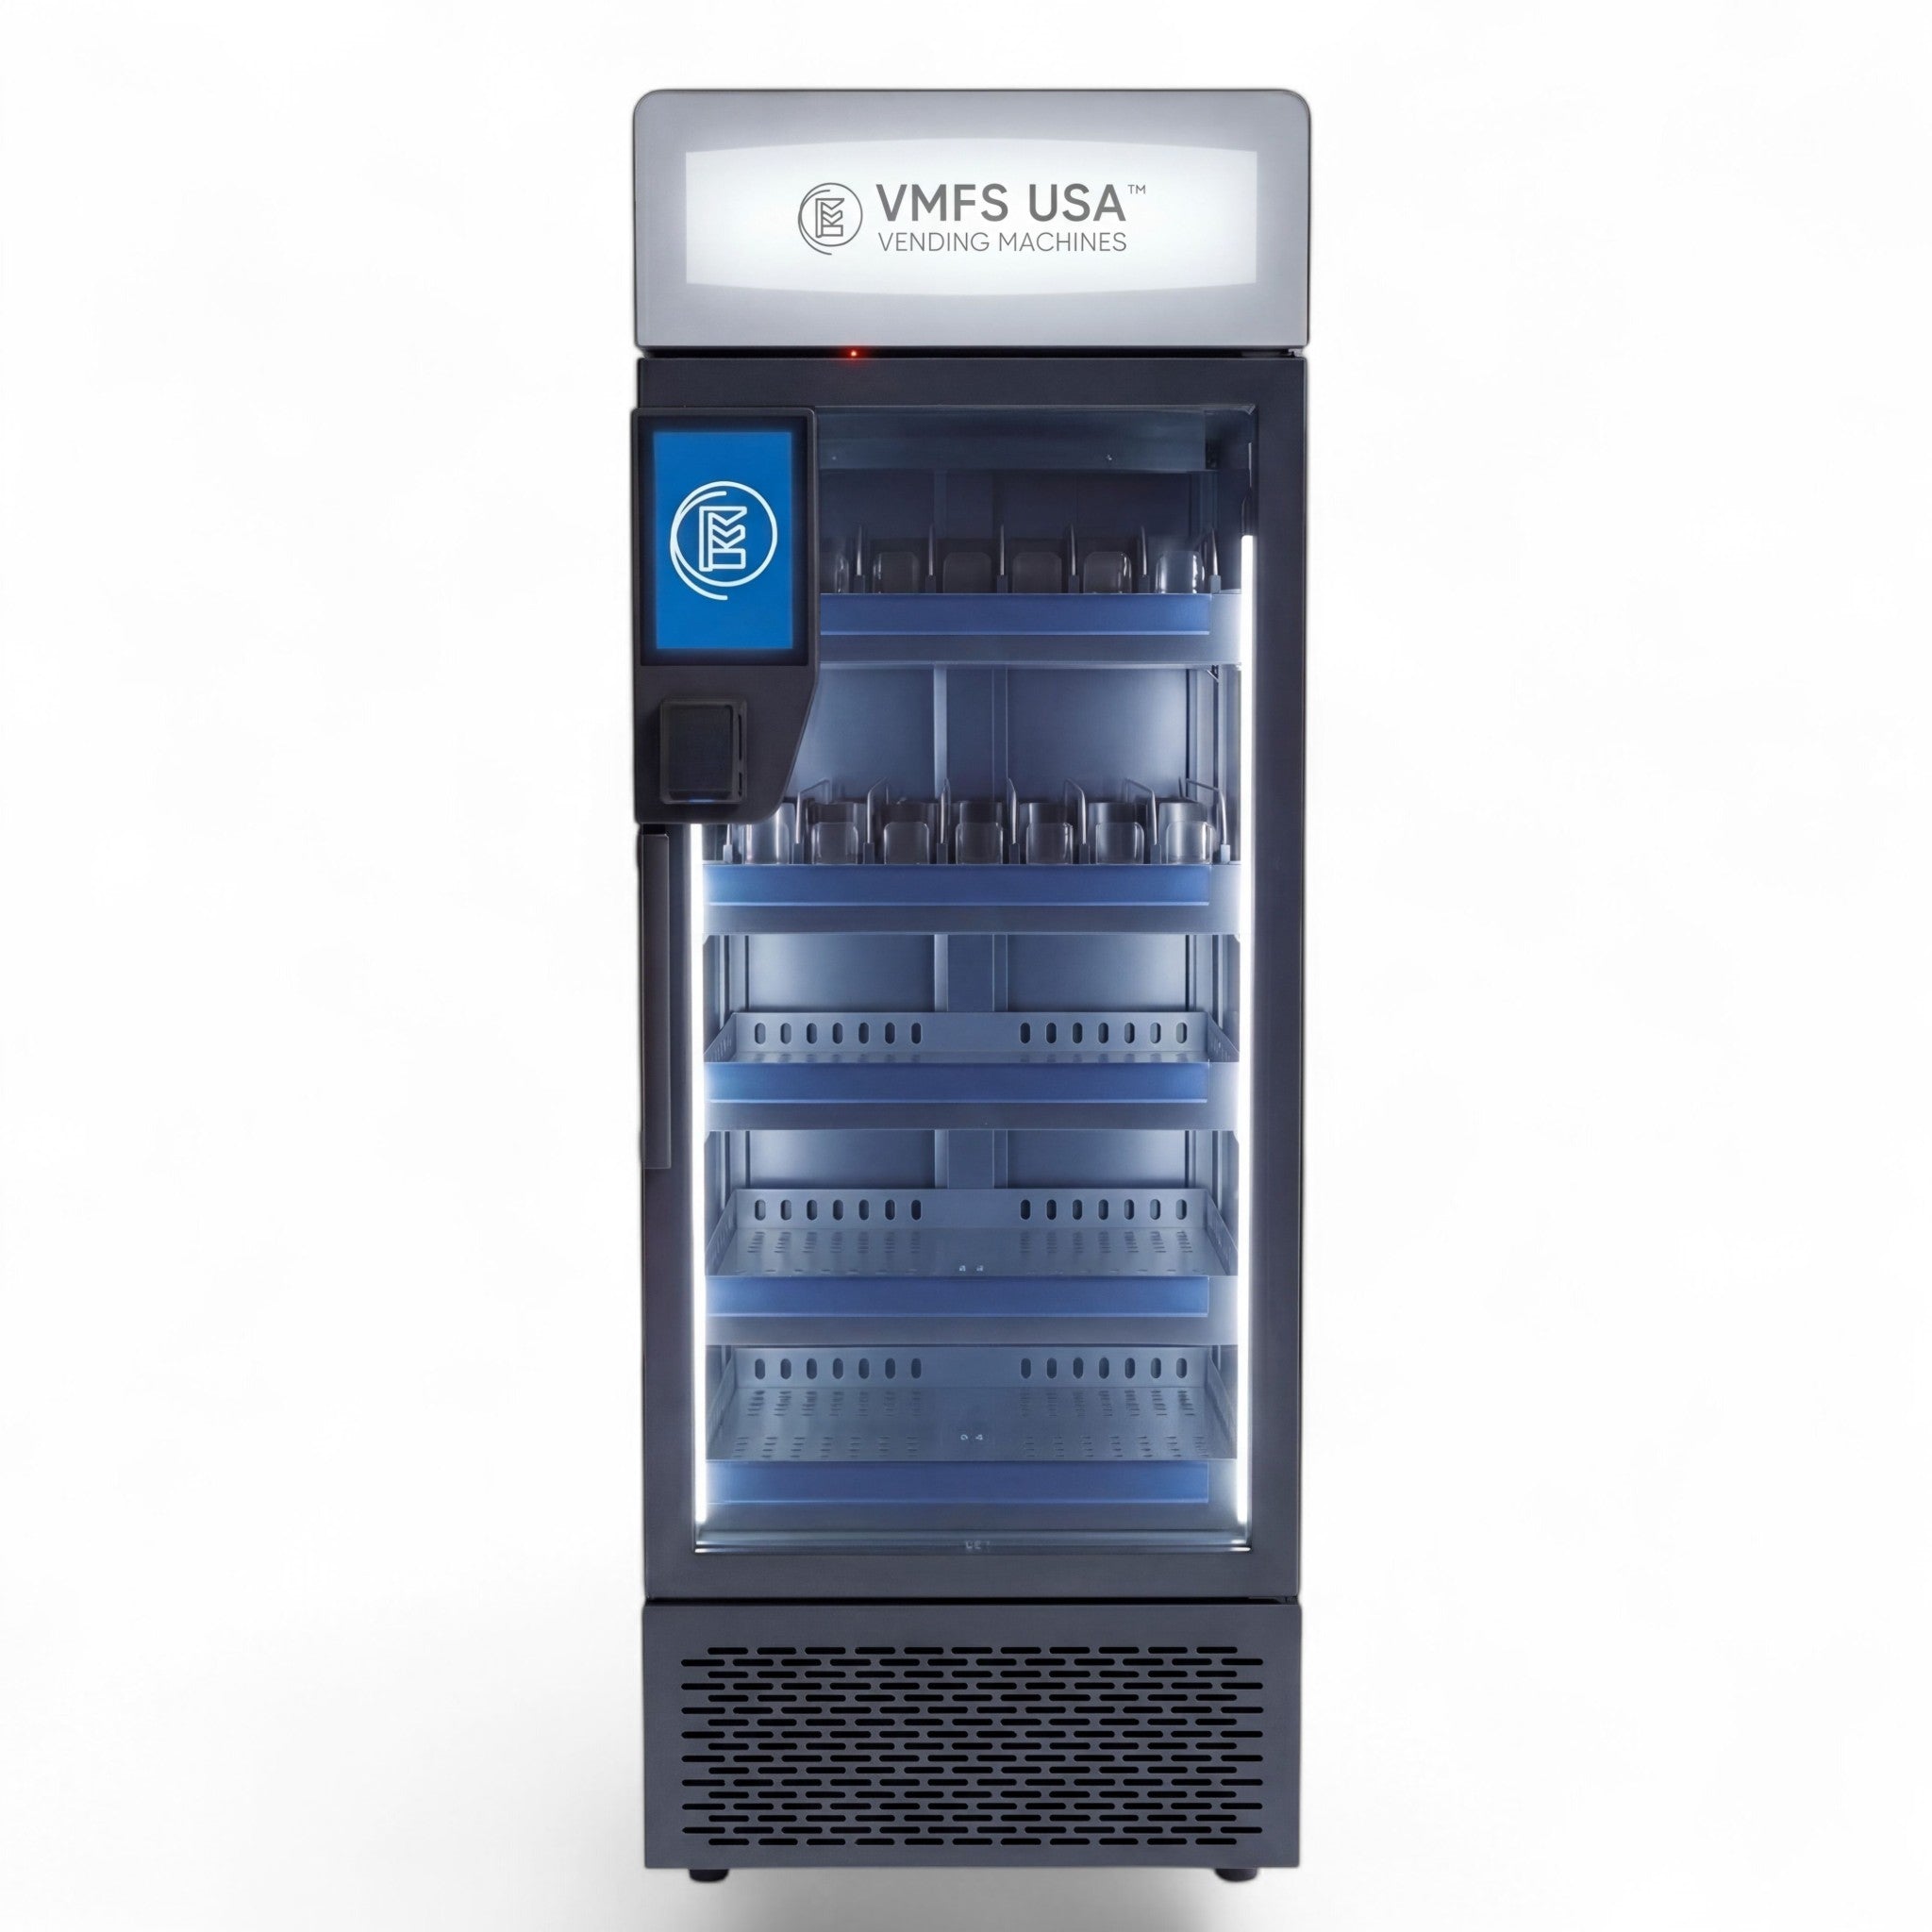
Week 3: Machine Configuration
- Finalize machine selection
- Choose payment system
- Confirm connectivity (WiFi or cellular)
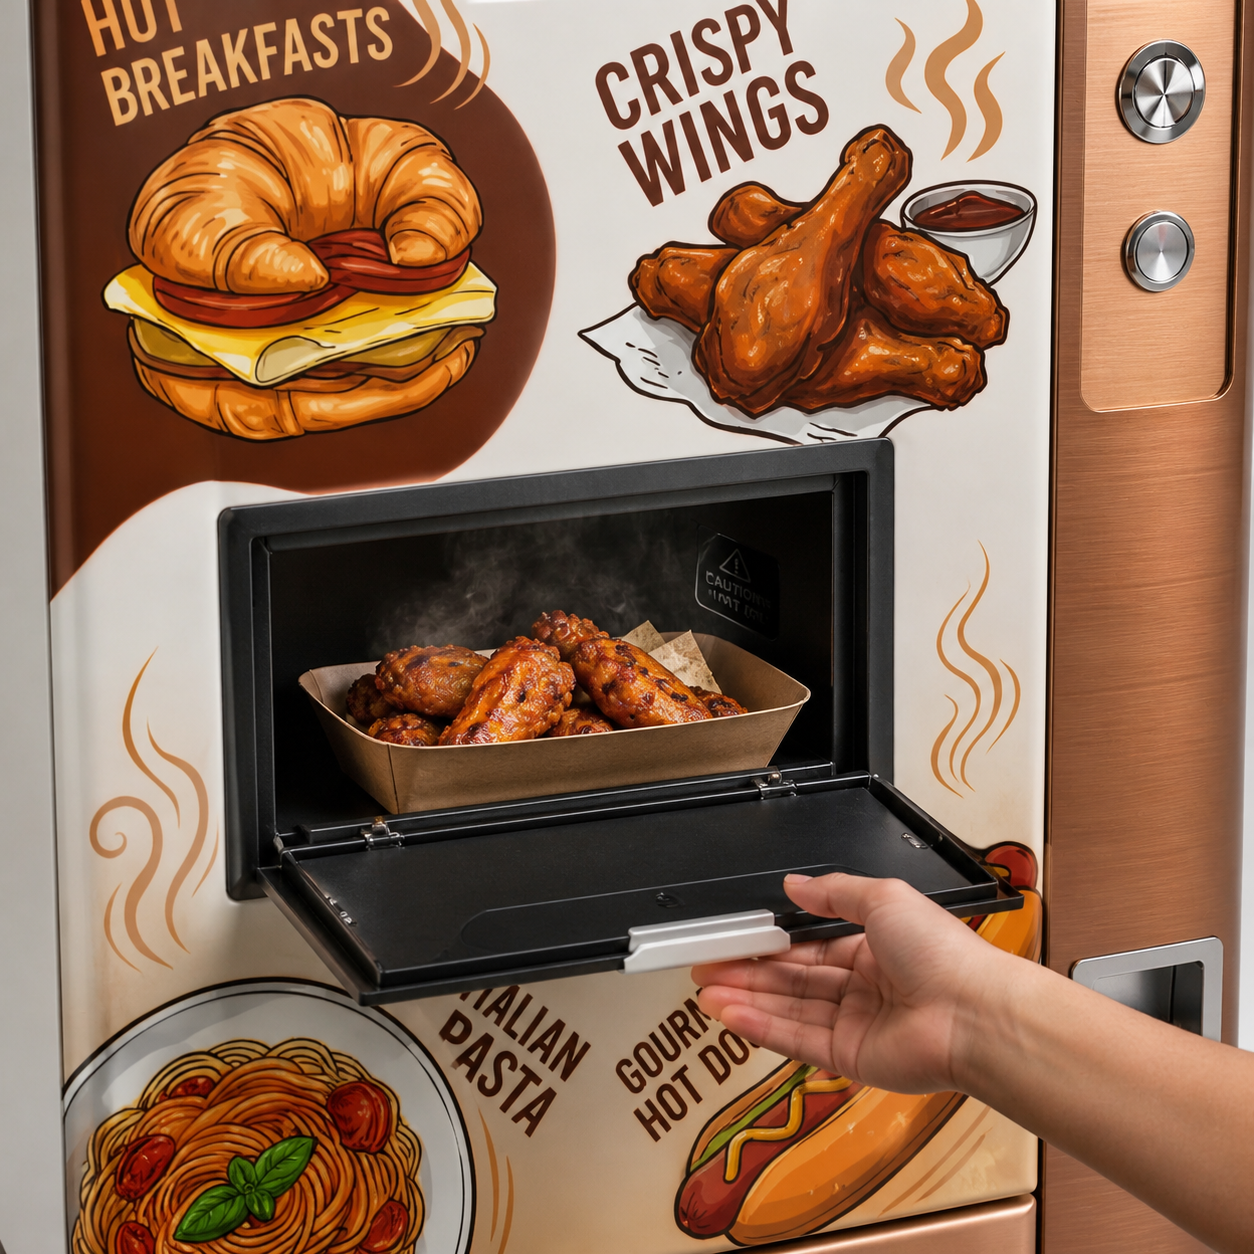
- Decide on product strategy
- Plan inventory list
Goal: Have a clear operational plan before delivery.
Week 4: Shipping & Logistics
- Confirm delivery date
- Ensure liftgate or white glove service if needed
- Prepare installation space
- Confirm power access
- Review installation checklist
Goal: Smooth delivery and installation.
Phase 2: Installation & Launch (Days 30–45)
Now the business becomes real.
Installation Day
- Inspect machine for damage
- Level and secure machine
- Connect to power
- Activate payment system
- Connect to cloud monitoring
- Perform test vend
- Verify pricing setup
Goal: Fully operational before stocking.
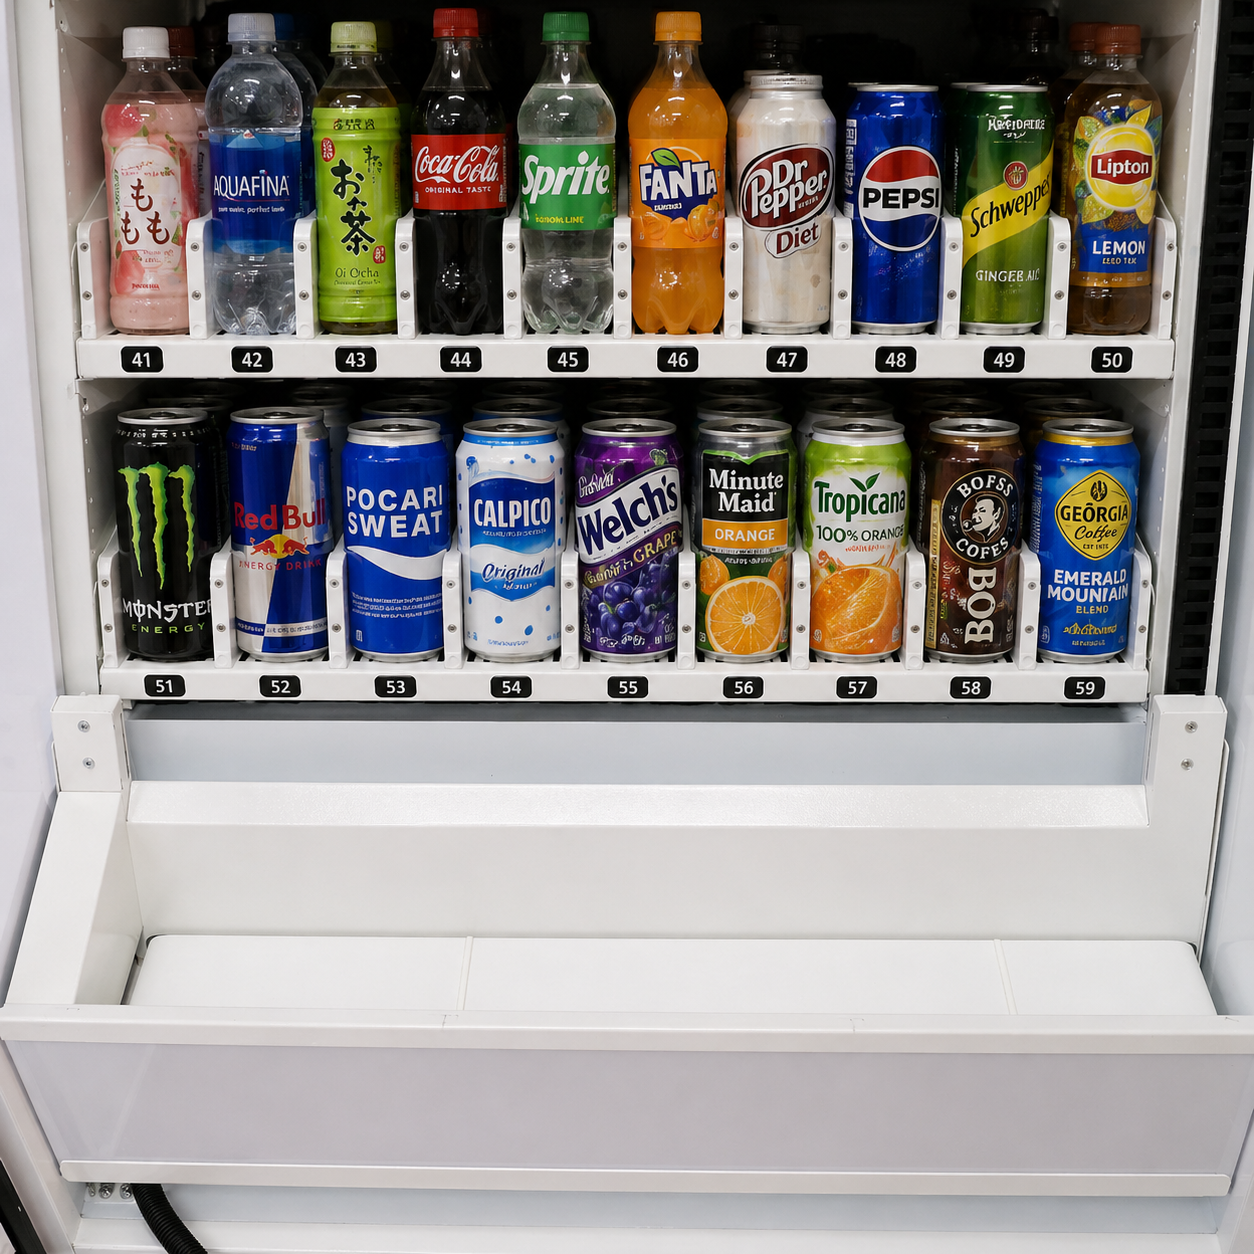
Initial Stocking
- Load core staple products first
- Add high-margin items
- Fill experimental slots
- Check expiration dates
- Confirm display visibility
Goal: Balanced product mix from day one.
Launch Week
- Monitor daily sales
- Check payment processing
- Verify cloud data accuracy
- Restock if needed
- Adjust minor pricing if necessary
Goal: Ensure smooth early performance.
Phase 3: Optimization & Data Review (Days 45–75)
This is where many beginners stop paying attention.
Don’t.
Weekly Review Routine
Every week:
- Check top 10 selling items
- Identify slow-moving products
- Review average sale amount
- Monitor cashless performance
- Check inventory turnover
Goal: Let data guide decisions.
First Product Rotation (Around Day 60)
- Remove lowest 10–20% performers
- Increase slots for fast sellers
- Test 2–3 new products
Goal: Improve efficiency.
Location Feedback
Ask location manager:
- Are employees satisfied?
- Any product requests?
- Any service concerns?
Goal: Strengthen relationship.
Phase 4: Stabilization & Planning (Days 75–90)
Now you should see patterns.
Revenue Analysis
Review:
- Monthly gross revenue
- Product cost
- Processing fees
- Revenue share
- Net profit
Understand your real numbers.
Evaluate Performance Tier
After 90 days, your machine likely falls into one of three tiers:
Tier 1 – Under $700/month
Reassess product mix or location quality.
Tier 2 – $800–$1,500/month
Healthy moderate performance.
Tier 3 – $1,500+/month
Strong placement. Consider scaling.
Decide Next Move
Options:
- Improve current location
- Add second machine in same building
- Begin searching for next placement
- Reinvest profit into expansion
Scaling works best when systems are stable.
Common Mistakes in First 90 Days
- Overreacting to first 2 weeks of data
- Overstocking slow products
- Ignoring revenue tracking
- Not checking machine regularly
- Failing to build relationship with location
Consistency wins.
What Success Looks Like After 90 Days
You should have:
- Stable product mix
- Clear revenue pattern
- Reliable restocking schedule
- Strong location relationship
- Understanding of your margins
At this point, vending becomes predictable.
Predictability leads to scale.


Share:
What You Need Before Placing a Machine
Operator Pricing Guide: How to Set Product Prices