Due to high demand, response and lead times may be longer than usual.
Get 5 percent off when you pay with AMEX.
We appreciate your business and are here to help with any questions.

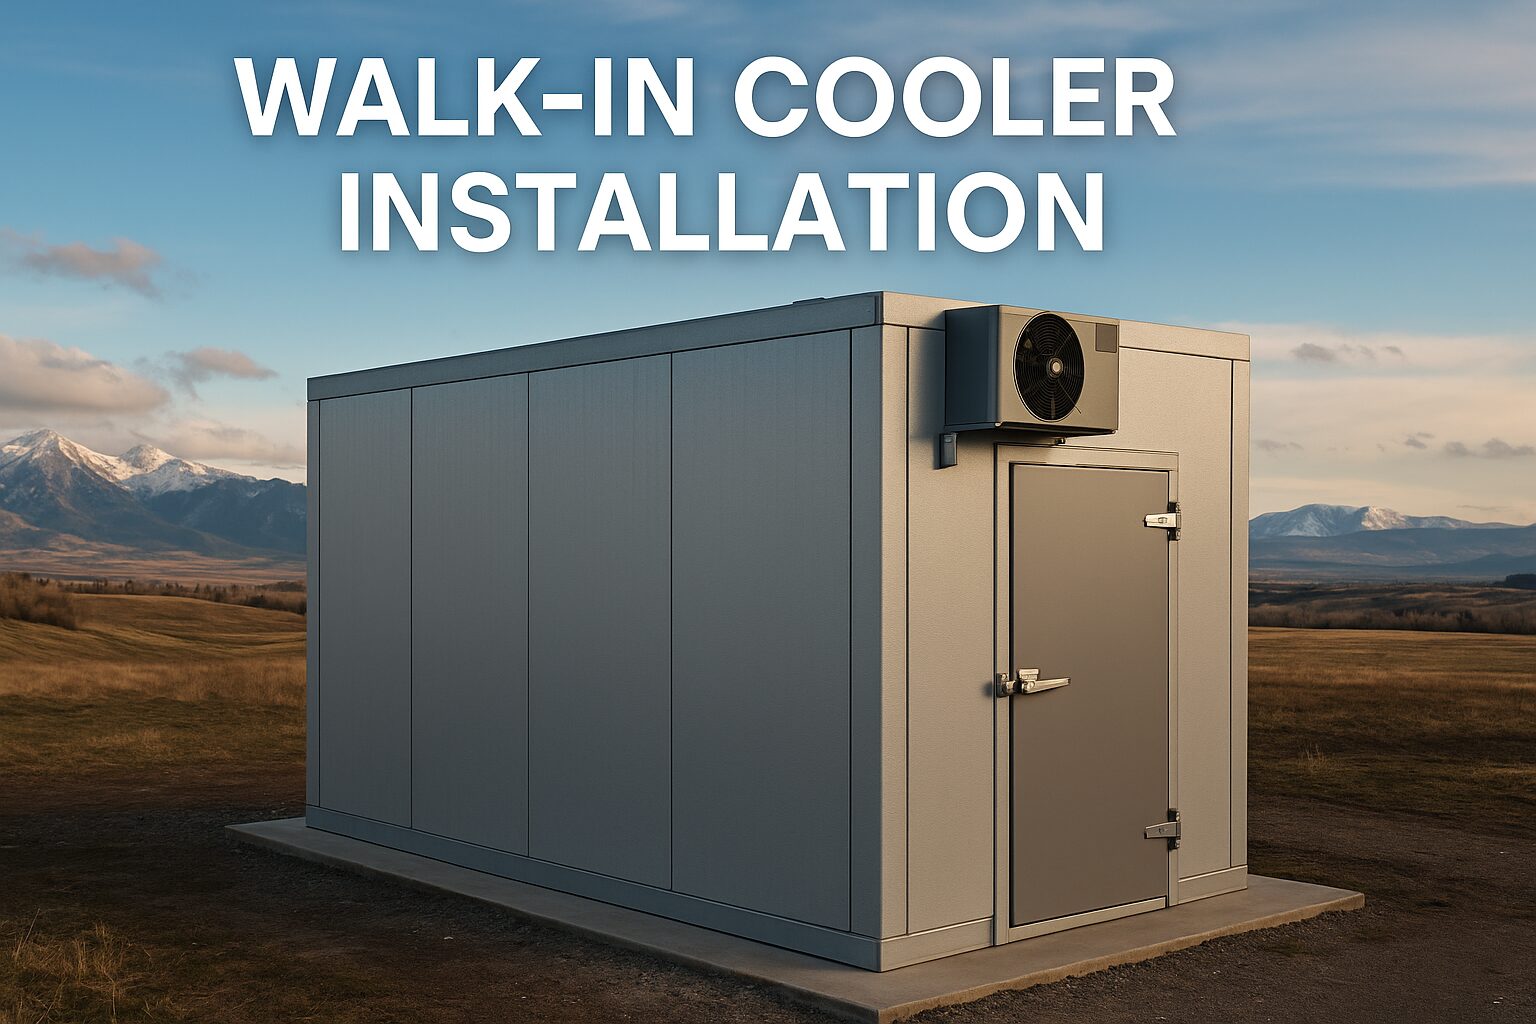
Thinking about saving thousands by building your own walk-in cooler or freezer? You’re not alone. Whether you’re outfitting a busy restaurant kitchen, adding cold storage to a retail space, or upgrading a back-of-house prep area, self-installation can seem like a budget-friendly way to get the job done.
But installing a walk-in cooler or freezer isn’t just about snapping panels together and plugging in a cord. These systems require careful planning, structural alignment, airflow analysis, and electrical expertise. A successful walk in cooler installation sets your business up for long-term efficiency and compliance—while a flawed setup can lead to spoiled inventory, failed inspections, and thousands in damage.
In this guide, we’ll walk you through every step of walk in freezer installation and cooler setup, from planning to sealing to performance testing. And if you decide it’s more than you want to handle, our expert walk-in installation services are ready to step in and do it right.
Before starting your installation, gather all necessary tools and components. Most commercial coolers and freezers come in modular panel kits, but the installation still requires mechanical assembly, sealing, and system connections.
You’ll need:
Configurations vary by brand and box size, so always confirm component specs with your manufacturer before you begin.
A successful installation starts with a smart plan. Choose a site that offers adequate space, ventilation, access to power, and minimal temperature fluctuation. Consider foot traffic, loading logistics, and equipment placement inside the cooler.
Make sure the floor is flat and capable of supporting the load. For outdoor installs, account for weather exposure, drainage, and structural protection.
If you’re working with a freezer unit, consider insulation levels and power demands more carefully—walk in freezer installation typically involves more rigorous prep than cooler installs.
Many of the most common failures in commercial walk-in installs stem from poor layout or overlooked airflow clearance. Our walk-in installation services include pre-install site evaluation to ensure your space supports proper function from day one.
With your layout approved, begin building the box. Position the corner panels first, ensuring right angles and level height. Most systems use cam-lock fasteners to tightly secure wall-to-wall and wall-to-ceiling connections.
Apply cold-environment sealant to every seam—even if the system uses gasket edges. This added layer helps reduce air infiltration and improve energy efficiency.
Install the ceiling panels carefully to avoid warping or sag. If your cooler is oversized or includes built-in lighting, additional support may be required.
Proper panel setup is critical to achieving thermal isolation and maintaining steady temperature inside your walk in coolers.
Yes. Freezers almost always require insulated flooring to prevent frost heave and subfloor damage. Even coolers installed on concrete may benefit from added insulation and slip resistance.
If the cooler is located inside a conditioned space, some models allow for “floorless” installation, but you must confirm that local code allows it—and that your structure is built to spec.
Use a vapor barrier under insulated floors in freezer units. Seal all joints around the floor perimeter to block air migration and moisture buildup. Poor floor installation is one of the most common failure points in DIY setups.
Now it’s time to install the cooling system. Depending on your model, this could be a self-contained unit mounted directly on the cooler, or a split system with a condenser placed remotely.
Ensure you have a dedicated power supply, proper clearance for ventilation, and an adequate electrical circuit to support the system.
Compressor size depends on cooler volume, usage rate, ambient temperature, and insulation thickness. For example, a 10x10x8 freezer with R-28 walls might require a 2.5–3 HP compressor. Undersizing leads to overrun and spoilage risk; oversizing wastes energy.
All electrical connections should be completed by a licensed technician. Drain lines must be routed to prevent condensate from pooling or freezing.
Consider choosing from our lineup of high-efficiency walk in cooler units and walk in freezer systems to simplify your refrigeration configuration.
Before you load inventory, run a complete test cycle.
Digital monitoring systems can help catch inefficiencies early. If you hear excessive fan cycling or see fluctuating temperatures, recheck for leaks or insulation gaps.
If you’re not confident with any of the above, let our certified team handle the final testing. Our walk-in installation services ensure you meet safety standards and equipment warranty guidelines.
Even the most confident DIYers can slip up. These are the most frequent issues that arise during a self-install:
Unsure about any of these? It may be time to pivot to professional commercial cooler installation. Our team handles everything from load analysis to code compliance with zero guesswork.
Even if you’re a skilled contractor or handy business owner, some installations are better left to licensed pros. You should strongly consider outsourcing the install if:
Our full-service walk-in installation services are trusted by restaurants, hospitals, wholesalers, and grocery chains across the U.S. We handle site planning, installation, startup, and even long-term maintenance—so your cooler doesn’t just work, it works without worry.
Installing a freezer? There are extra precautions worth noting.
These aren’t just convenience upgrades—they’re crucial for safety, performance, and code compliance in commercial environments.
If you’re sourcing new equipment, consider our selection of high-efficiency walk in freezers for modern cold storage needs.
Walk-in freezers are installed by assembling insulated panels into a sealed box, attaching refrigeration systems, insulating floors, and sealing all joints. Electrical and drain lines are connected before testing the system for performance.
Yes. Freezers require insulated floors to prevent ground heat intrusion and condensation. This helps preserve internal temperatures and protect substructures.
If the freezer was tilted or transported on its side, allow 4 to 24 hours upright before powering on. This gives refrigerant and oil time to redistribute safely.
It depends on room size, insulation, temperature setpoint, and external heat load. Consult with a refrigeration expert or use our walk-in installation services for accurate sizing.
Yes—if you’re comfortable with mechanical assembly and basic electrical work. But for businesses where failure isn’t an option, professional walk-in installation services are strongly recommended.
Freezers require tighter insulation, more powerful compressors, sealed floors, and sometimes heated doors. They are more energy-intensive and less forgiving of installation flaws.
Most single-box installs take 1–3 days. More complex setups or those requiring permitting may take 4–7 days including inspections.
We provide expert installation for commercial freezers and coolers nationwide, specializing in code-compliant setups for foodservice and retail spaces.
Installing a walk-in cooler or freezer can save money and give you control over your build—but it also comes with risk. If you misalign your panels, underestimate your compressor needs, or forget to seal one key joint, you could be looking at spoiled product and expensive corrections.
So if you’re confident and equipped, go for it—follow this guide and build your box with precision. But if you want peace of mind, certified performance, and guaranteed results, explore our full range of walk in coolers and rely on our professional walk-in installation services to get it done right.
Need help with your project? Get a free consultation today and see why more businesses trust us to install and maintain their cold storage systems with confidence.