Export ready American built machines in stock, shipping from Miami
How to use Nayax vending machine
Cashless vending is no longer a luxury; it is now the industry standard. Whether you operate one vending machine or manage a growing network, systems like Nayax make it easy to accept cards, phones, or mobile wallets. Many operators, however, still ask one simple question: how can I set it up and start using it?
This guide walks you through everything from preparation to installation and operation. You will learn what equipment is required, how to connect your Nayax card reader, and how to start managing sales through the cloud. It will also show how new vending machines from VMFS USA come ready for Nayax integration, saving you time and effort during setup.
Think of this as your practical field guide. You do not need to be a technician to follow these steps. With a few tools and a clear process, you can enable fast, reliable cashless payments and turn each sale into an organized data point inside your dashboard. Efficiency starts with understanding how it all fits together.
What You Need Before You Begin
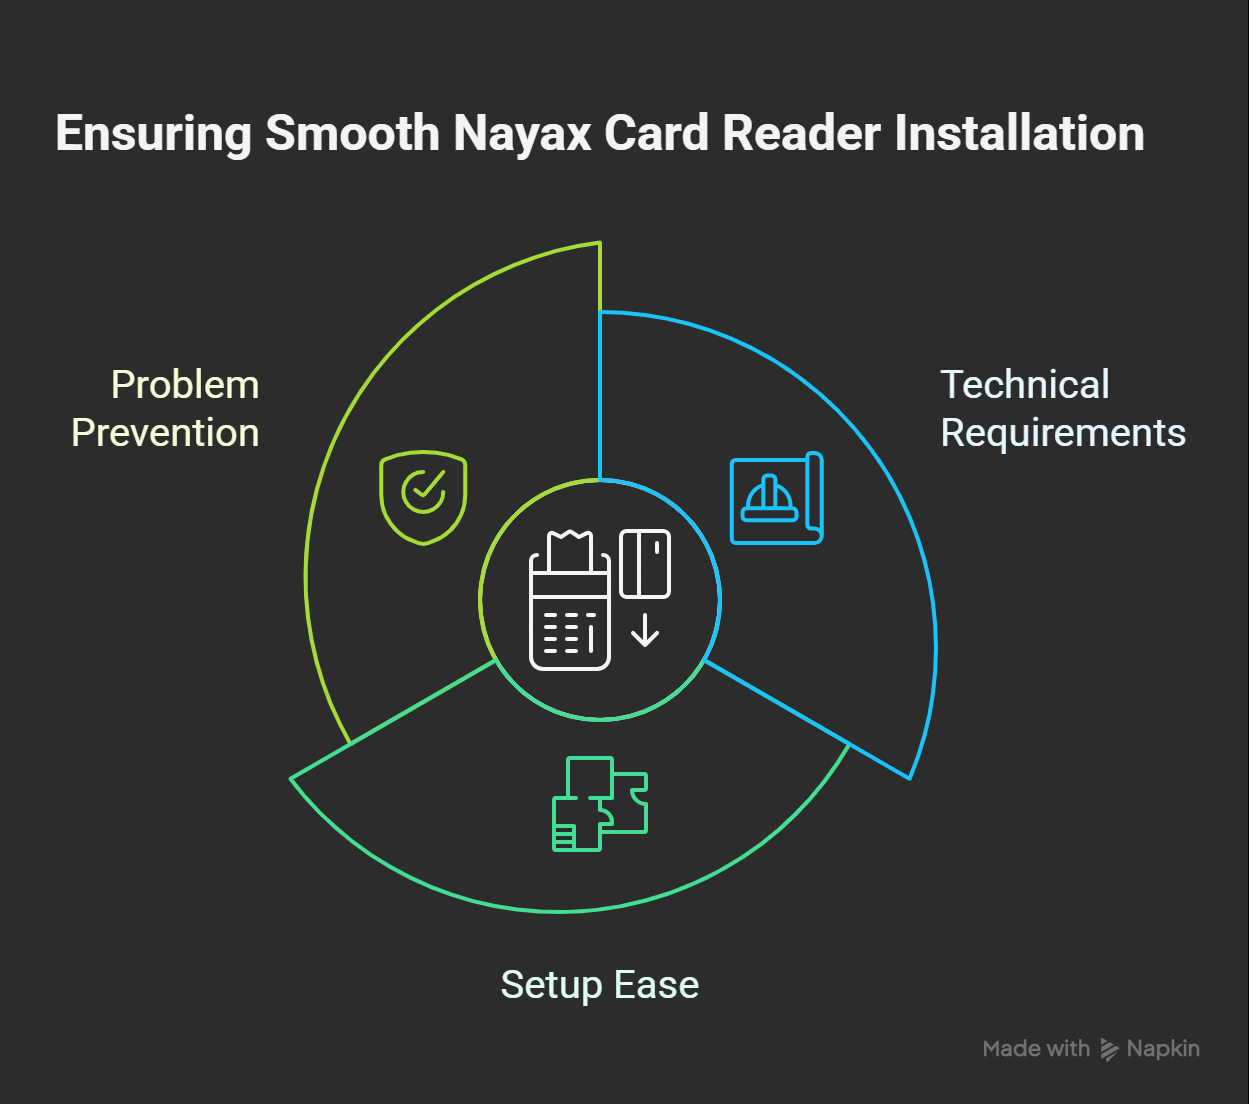
Before installing a Nayax card reader, it helps to confirm that your vending machine meets certain technical requirements. These details make setup easier and prevent problems later when you connect the device.
1. An MDB-Compliant Vending Machine
The Nayax reader connects through an MDB (Multi-Drop Bus) port, which is the universal connection for payment systems in vending machines. Most modern machines already include it. New vending machines from VMFS USA are fully MDB-compliant and designed to work with Nayax right out of the box.
2. An Active Nayax Account
Before installation, create or activate your Nayax account. This account allows you to register your reader, assign it to a specific location, and track transactions. Once connected, your sales and reports automatically appear in your Nayax dashboard, giving you full visibility of performance in real time.
3. Internet Or 4G Connectivity
A reliable internet or mobile data connection is essential. Nayax readers use this link to process payments and communicate with the cloud. If your location has weak coverage, consider using a wired connection or an external antenna to maintain stability.
4. Safe Access To The Control Board
Before installation, check that you can safely open the vending machine and reach the control board. This is where the MDB port is located. Always power off the machine before handling cables or connecting new devices.
5. Optional: VMFS Cloud Integration
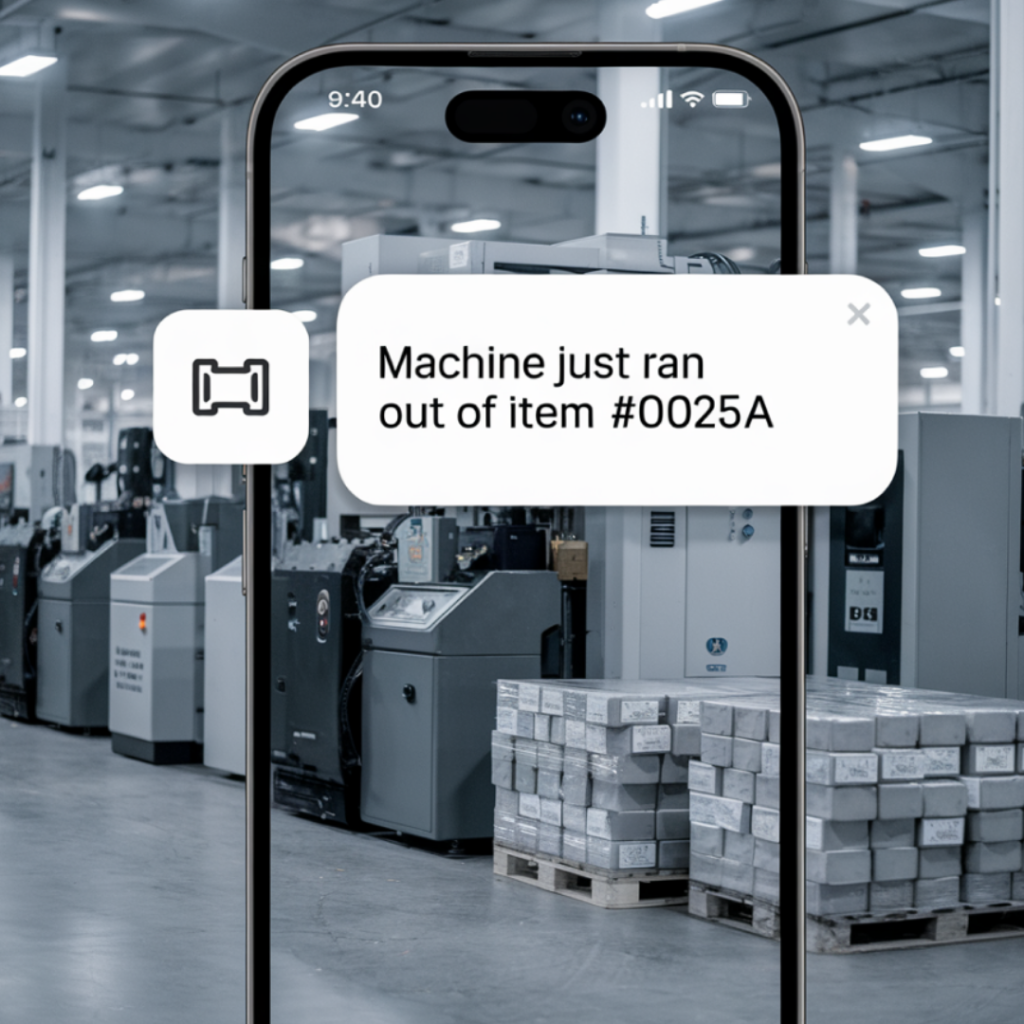
If you use VMFS Cloud, your Nayax reader can automatically sync data, track uptime, and alert you when inventory runs low. It creates a hands-free system where your vending operation stays connected and monitored 24 hours a day.
Tip For Operators: Begin with one machine and test the connection before expanding. Watching the first few transactions in your dashboard helps you understand the data flow and confirms your setup is correct.
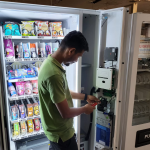
Step-by-Step: How To Install Nayax Card Reader
Setting up a Nayax card reader takes only a few careful steps. Each one is designed to make sure your vending machine connects properly, processes payments, and syncs with your account. Follow this sequence to get it done smoothly.
Step 1: Power Off And Open Your Machine
Unplug the vending machine before doing anything else. This keeps both you and the equipment safe. Once it’s powered down, open the service door to access the control board. You’ll usually find it behind the main product trays or inside the payment compartment.
Step 2: Find The MDB Port
Look for a small round port labeled “MDB” or “Multi-Drop Bus.” This is where the Nayax reader connects to communicate with your machine. The MDB cable is usually black with a simple plug that fits only one way, so you can’t connect it incorrectly.
Step 3: Mount The Nayax Reader
Position the reader in your machine’s front payment panel. Secure it using the included screws or mounting bracket. The screen and tap area should be visible and easy for customers to reach. Make sure the cable passes through safely without bending or pinching.
Step 4: Connect The Modem (If Included)
Some Nayax kits come with a separate modem. Plug the modem’s data cable into the reader, then attach the antenna. Keep the antenna outside the metal cabinet for a better signal. This modem handles your wireless communication and ensures smooth real-time transactions.
Step 5: Power Up And Check Connection
Plug the vending machine back in and turn it on. The reader screen should light up and display a boot or connection message. Within a few seconds, it will attempt to connect to Nayax’s cloud. A green light or a message like “Ready” confirms success.
| Indicator | Meaning |
|---|---|
| Green Light or “Ready” | Connected and accepting payments |
| Red Light | Error or no connection detected |
| Yellow Light | In setup or network search mode |
Step 6: Register Your Device
Log into your Nayax account and add the new reader under your operator profile. Enter the device ID printed on the back or in the packaging. Once registered, you can assign the reader to a specific machine, location, or route in your online dashboard.
Step 7: Test Your First Transaction
Try a small purchase using a debit card or phone tap. Wait for approval and watch the vending machine dispense the item. The charge will appear as “Nayax” on your card statement. You can view the sale immediately in your Nayax portal or VMFS Cloud.
Once you confirm that the payment works, your setup is complete. Your vending machine is now equipped to accept secure, cashless payments and sync every transaction automatically to your cloud dashboard.
How To Use Nayax Vending Machine
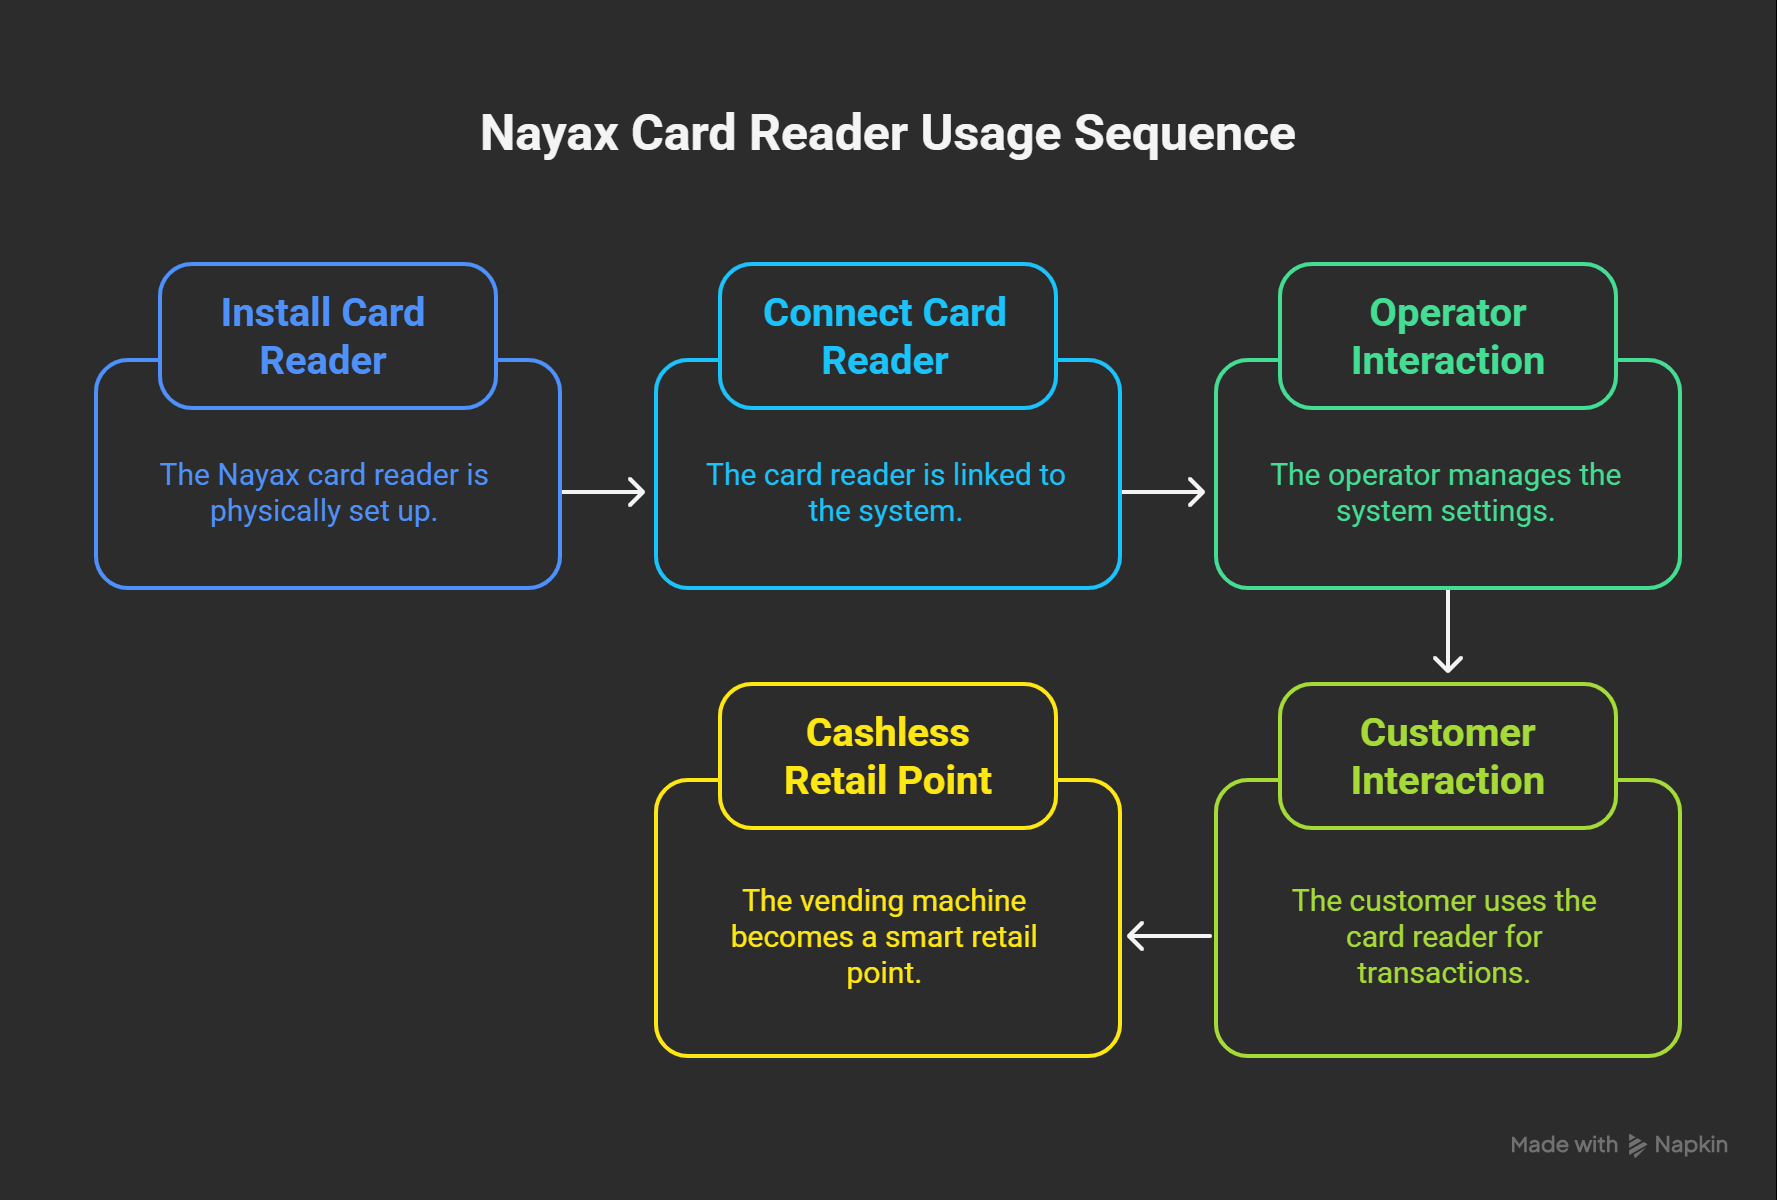
Once your Nayax card reader is installed and connected, it’s time to start using it. The system works smoothly for both operators and customers, turning any vending machine into a smart, cashless retail point. Here’s how each side works.
For Operators
As an operator, your goal is to keep the machine running efficiently while tracking sales and performance remotely. The Nayax dashboard gives you full visibility into transactions, revenue, and machine health.
- Check Live Transactions: View every payment made through your reader. Transactions appear in real time and include payment type, amount, and timestamp.
- Adjust Pricing: Log in to your Nayax portal to change item prices remotely. You don’t need to visit the location to make updates.
- Track Inventory: The system records each sale and updates your stock count automatically, helping you plan refills and reduce product shortages.
- Issue Refunds: If a product doesn’t dispense, use the “Refund” option in the portal to send money back directly to the customer’s card.
- Monitor Machine Status: Get alerts for errors, offline issues, or payment failures so you can fix problems quickly.
If you use VMFS Cloud with your vending network, you can view multiple machines at once. The cloud shows sales by location, compares performance, and helps identify top-selling items. It’s an easy way to turn everyday vending data into useful business insights.
For Customers
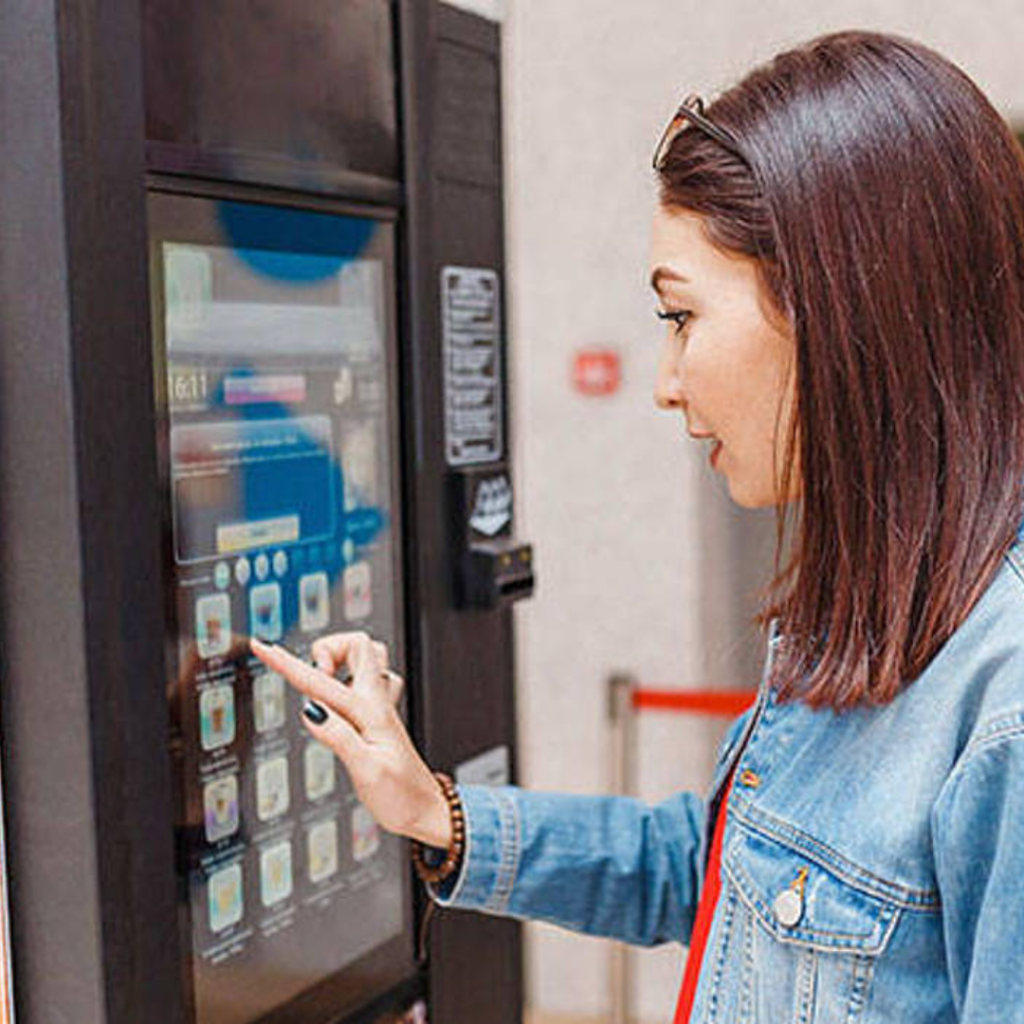
Using a vending machine equipped with Nayax is just as simple. Customers enjoy a smooth, tap-to-buy experience without worrying about coins or bills.
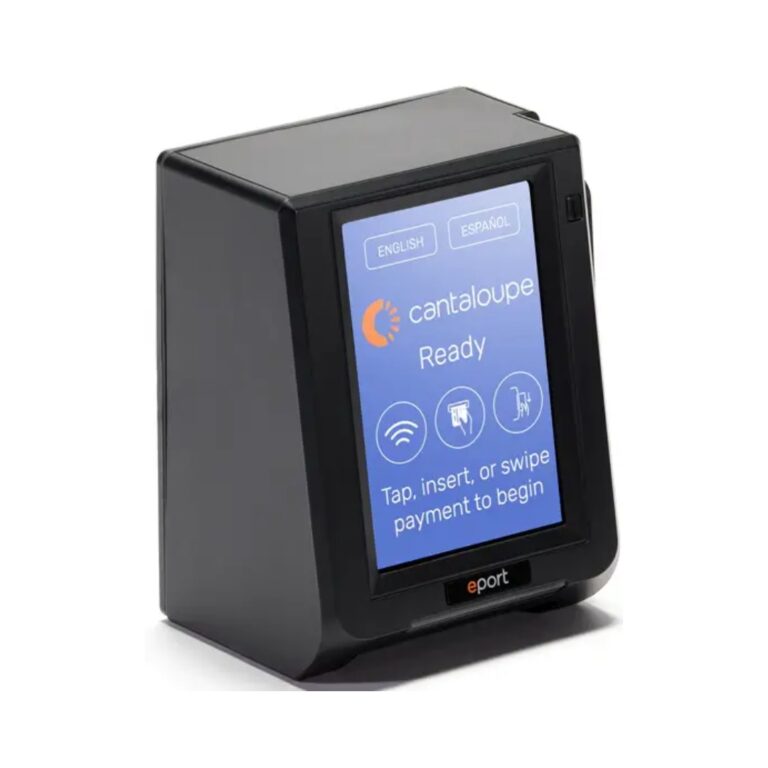
- Tap your card, phone, or smartwatch against the Nayax reader.
- Wait for the “Approved” message to appear on the screen.
- Select your product, and the machine will dispense it automatically.
- Your payment is processed securely, and the charge appears as “Nayax” on your credit card statement.
Most digital vending machines also support contactless wallets like Apple Pay and Google Pay. This flexibility lets customers choose how they pay while keeping transactions fast and safe.
Tip For Better Experience: Operators can customize their screen messages or add brand logos through Nayax settings. It’s a small touch that builds trust and creates a more professional appearance for customers.
Troubleshooting Common Issues
Even with simple installation, a few common issues can appear during the first setup or after network updates. Most can be fixed quickly by checking your connections and settings. Here’s how to solve the most frequent ones.
1. Reader Does Not Power On
If the reader screen stays dark after powering the machine:
- Make sure the MDB cable is fully connected to the control board.
- Check that your machine’s main switch is turned on.
- Inspect the fuse inside the vending machine, since a blown fuse can block power to the reader.
2. “Communication Error” Message
This means the reader is not connecting to the network. Try the following:
- Check mobile signal strength and relocate the antenna if the signal is weak.
- Restart the machine and reader to force a fresh connection.
- If you are using a SIM card, verify that data service is active.
3. Machine Not Syncing To The Cloud
If sales are not showing in your portal or VMFS Cloud, the reader might not be updating correctly.
- Log in to your Nayax portal and check the device status. It should read “Online.”
- Press the manual sync button if available on your model.
- Make sure your internet connection is stable and the reader has network access.
4. Payments Failing Or Declined
Most failures happen when the connection drops during payment. To fix it:
- Restart both the vending machine and the Nayax reader.
- Wait a few minutes for the device to reconnect to the network.
- Test a transaction with a known active card.
| Problem | Likely Cause | Quick Fix |
|---|---|---|
| Reader not turning on | No power or loose cable | Reconnect MDB cable and check fuse |
| Communication error | Weak signal | Move antenna and restart device |
| No data showing in dashboard | Sync issue | Press manual sync and verify connection |
Why Choose Nayax For Modern Vending
Nayax has become the leading choice for cashless vending operators worldwide. It combines reliability, security, and advanced cloud tools to simplify vending management from a single dashboard. For many operators, it’s the bridge between traditional vending and smart retail.
Key Advantages
- Universal Compatibility: Works with over 80 percent of modern vending machine models, including new vending machines from VMFS USA that are MDB-compliant and ready for direct installation.
- Multiple Payment Options: Accepts cards, mobile wallets, QR codes, and prepaid passes without needing separate systems.
- Cloud Reporting: Tracks every transaction in real time with full visibility through Nayax and VMFS Cloud.
- Remote Management: Lets operators adjust pricing, issue refunds, or restart machines from any location.
- Security & Compliance: Uses encrypted networks and PCI-compliant systems to protect customer payments.
Choosing Nayax isn’t just about adding a card reader. It’s about joining a connected ecosystem where every sale, update, and alert happens automatically. This level of control keeps vending operators ahead in an industry that now runs on real-time data.
Conclusion
Installing and using a Nayax vending machine system is simpler than it looks. Once connected, it gives you full control over transactions, pricing, and performance while providing customers a smooth, cashless experience. The setup takes just a few steps and instantly modernizes how your vending business operates.
Whether you run one unit or manage a network of new vending machines from VMFS USA, Nayax helps you stay connected, track results, and serve more customers with less effort. It is a proven solution for today’s fast-moving vending world, where convenience and accuracy matter most.